Automating Cloud Resources with AWS CloudFormation

🛠️ Exploring DevOps tools: Docker, Kubernetes, Jenkins, Terraform, and more. 🌐Let's connect, learn, and grow together.
Hey Techies! Welcome to this blog
In this blog, we are going to start with Automating Cloud Resources with AWS CloudFormation.
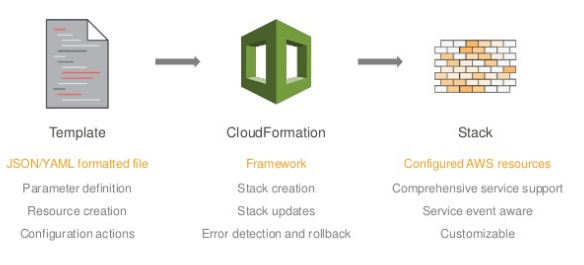
In this blog, we are going to explore another service of AWS i.e. CloudFormationTempale (AWS CFT). It is the template that helps in cloud formation. Cloud in this case is AWS i.e. creating, managing, and updating the cloud resources.
AWS CFT implements the principle of IAC which is not implemented by the AWS CLI. There are different IAC tools like Terraform, Crossplane but AWS CFT is majorly for the AWS cloud only. IAC is a concept where we write codes to create resources in the cloud. IAC tool acts as a middleman between the user and the cloud provider.
You can refer to this for more understanding AWS CFT.
Let's dive into the AWS CFT practically.
Log into your AWS account. Search for CloudFormation and click on it.

In the cloud formation page, click on Create Stack, stack is the one that implements the template that we have written.
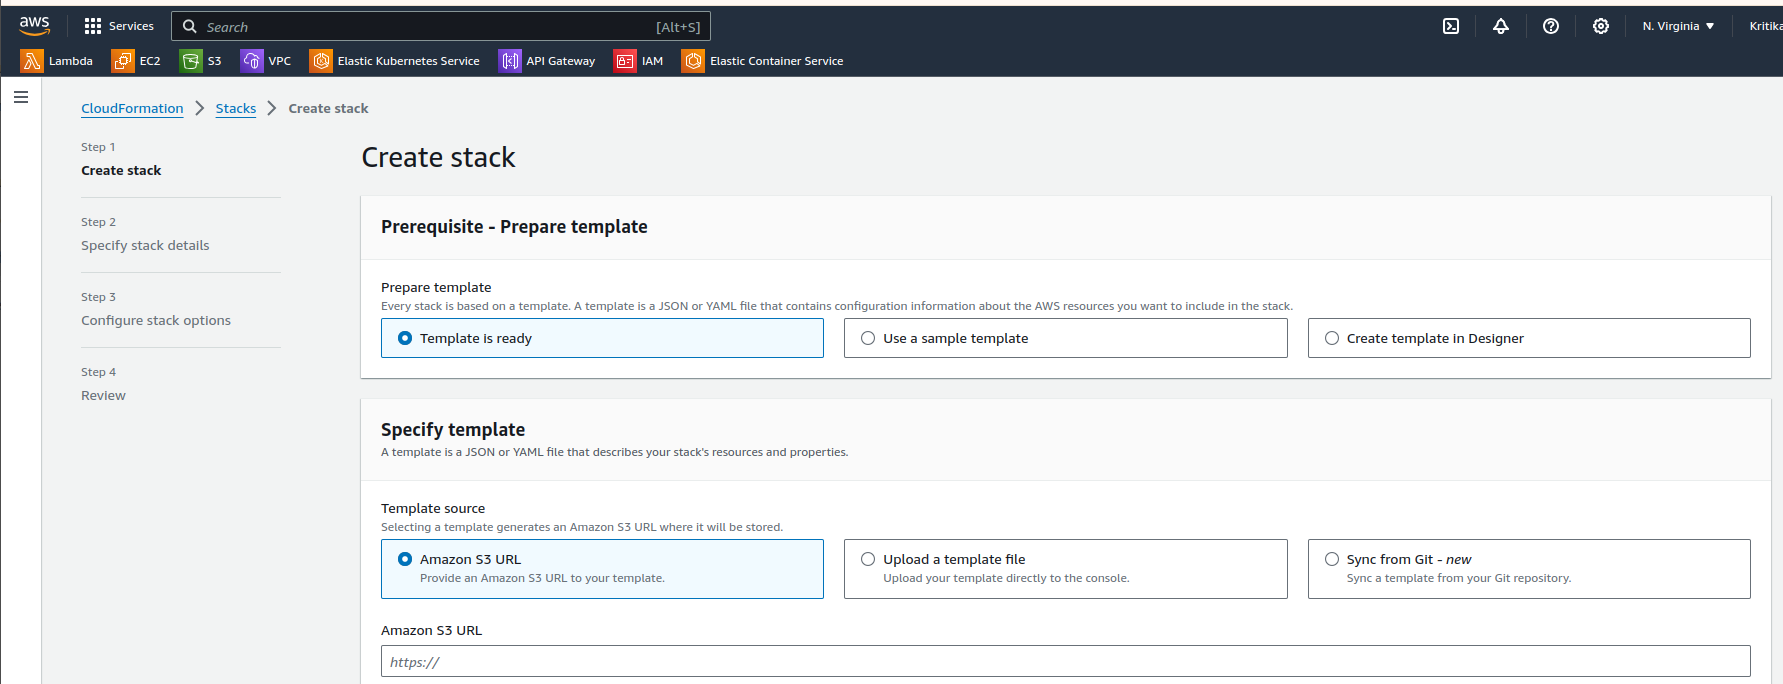
Then click on Create template in designer.
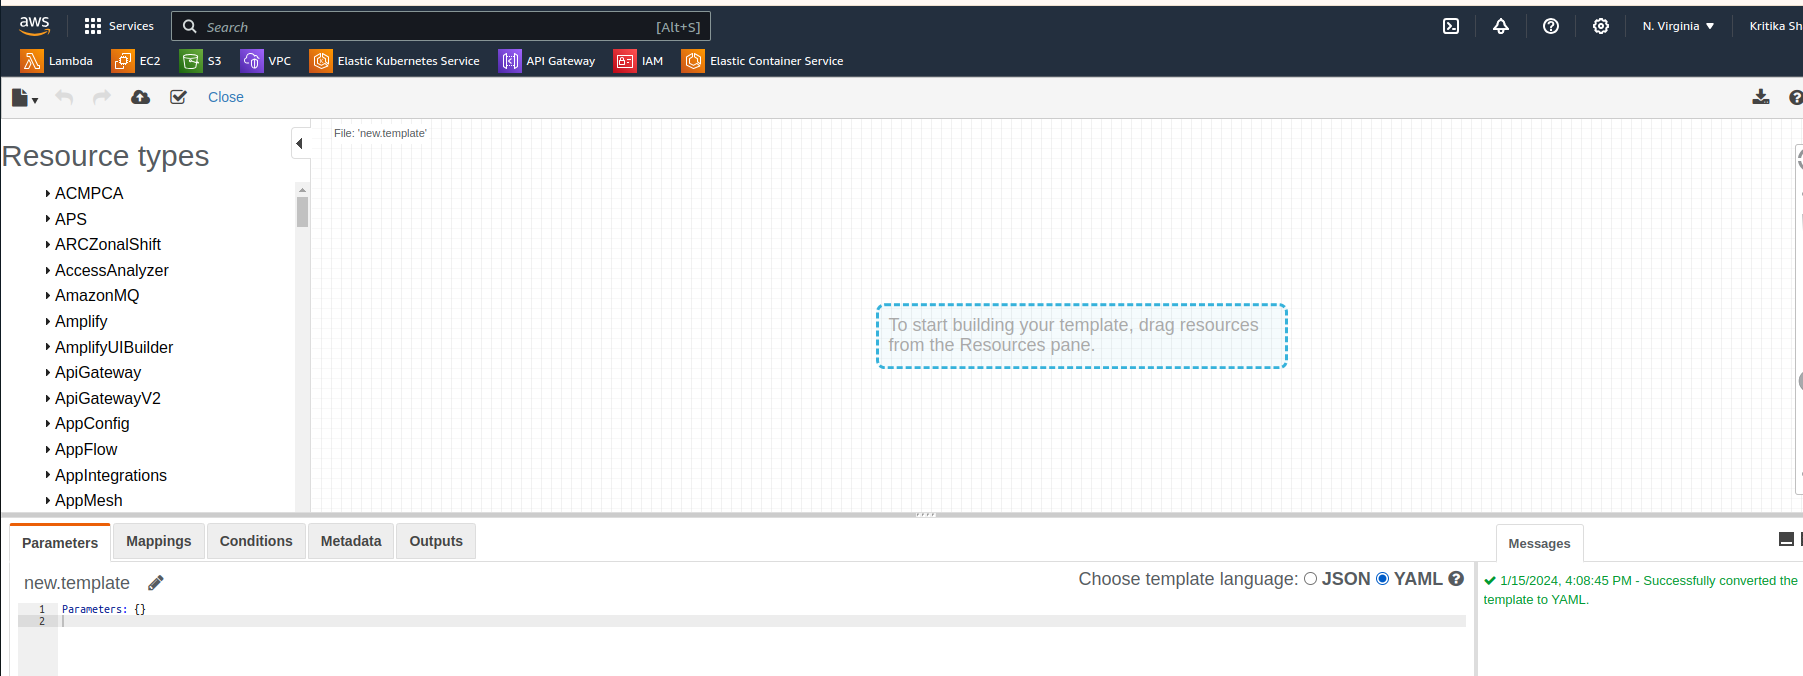
You will get into this page, you can simply drag the resources in the plane and the code will be generated in JSON or YAML based on your requirement.
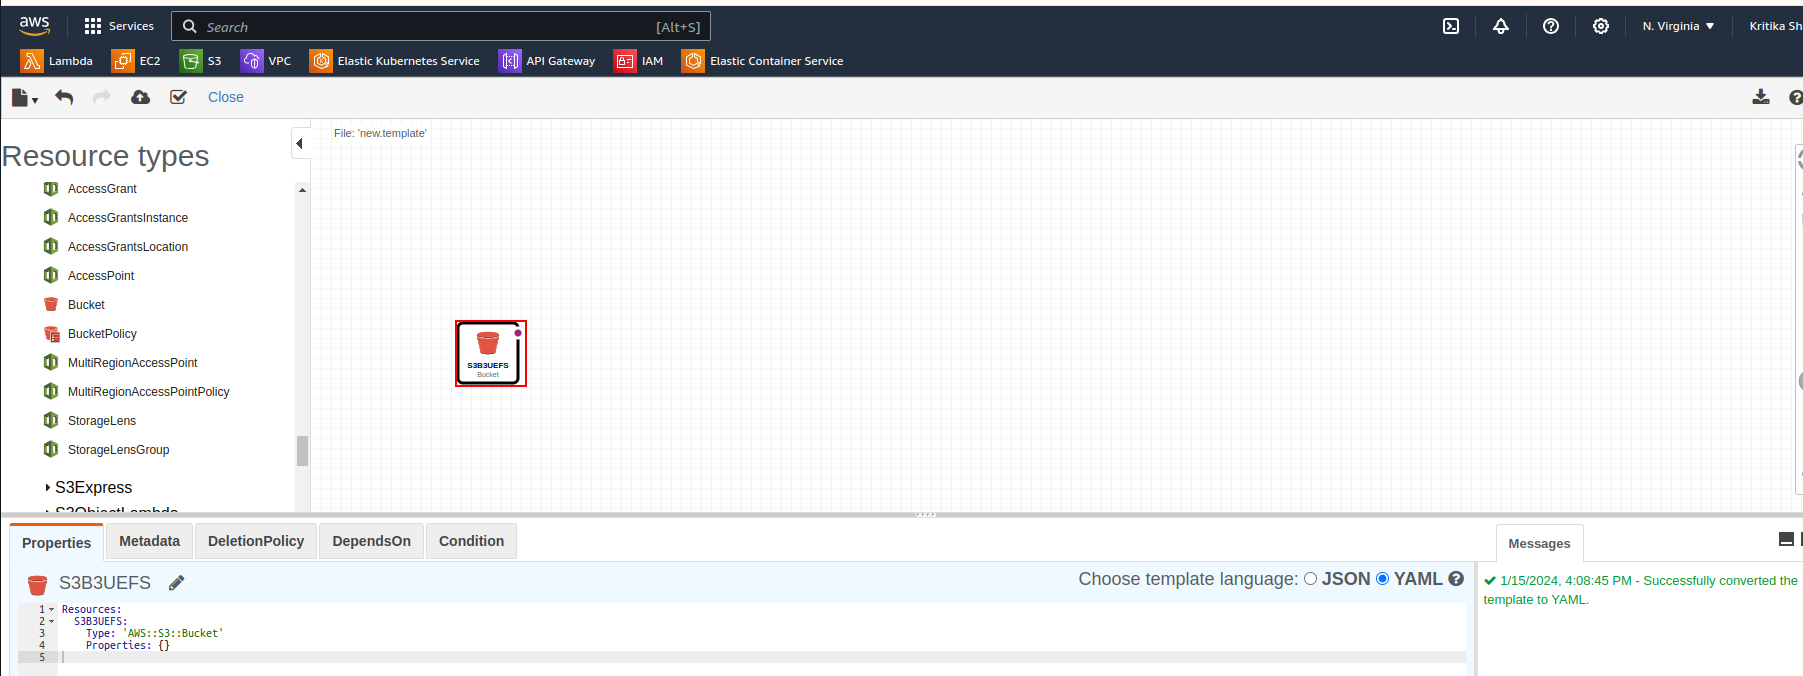
We simply dragged the bucket and the code is generated in the below terminal.
Resources:
  S3BUCKET:
    Type: 'AWS::S3::Bucket'
    Properties: {}
The code snippet represents an AWS CloudFormation template to create an Amazon S3 bucket. The logical name is "S3BUCKET," and it specifies the resource type as 'AWS::S3::Bucket.' The template is currently basic, without additional properties, indicating a simple S3 bucket creation.
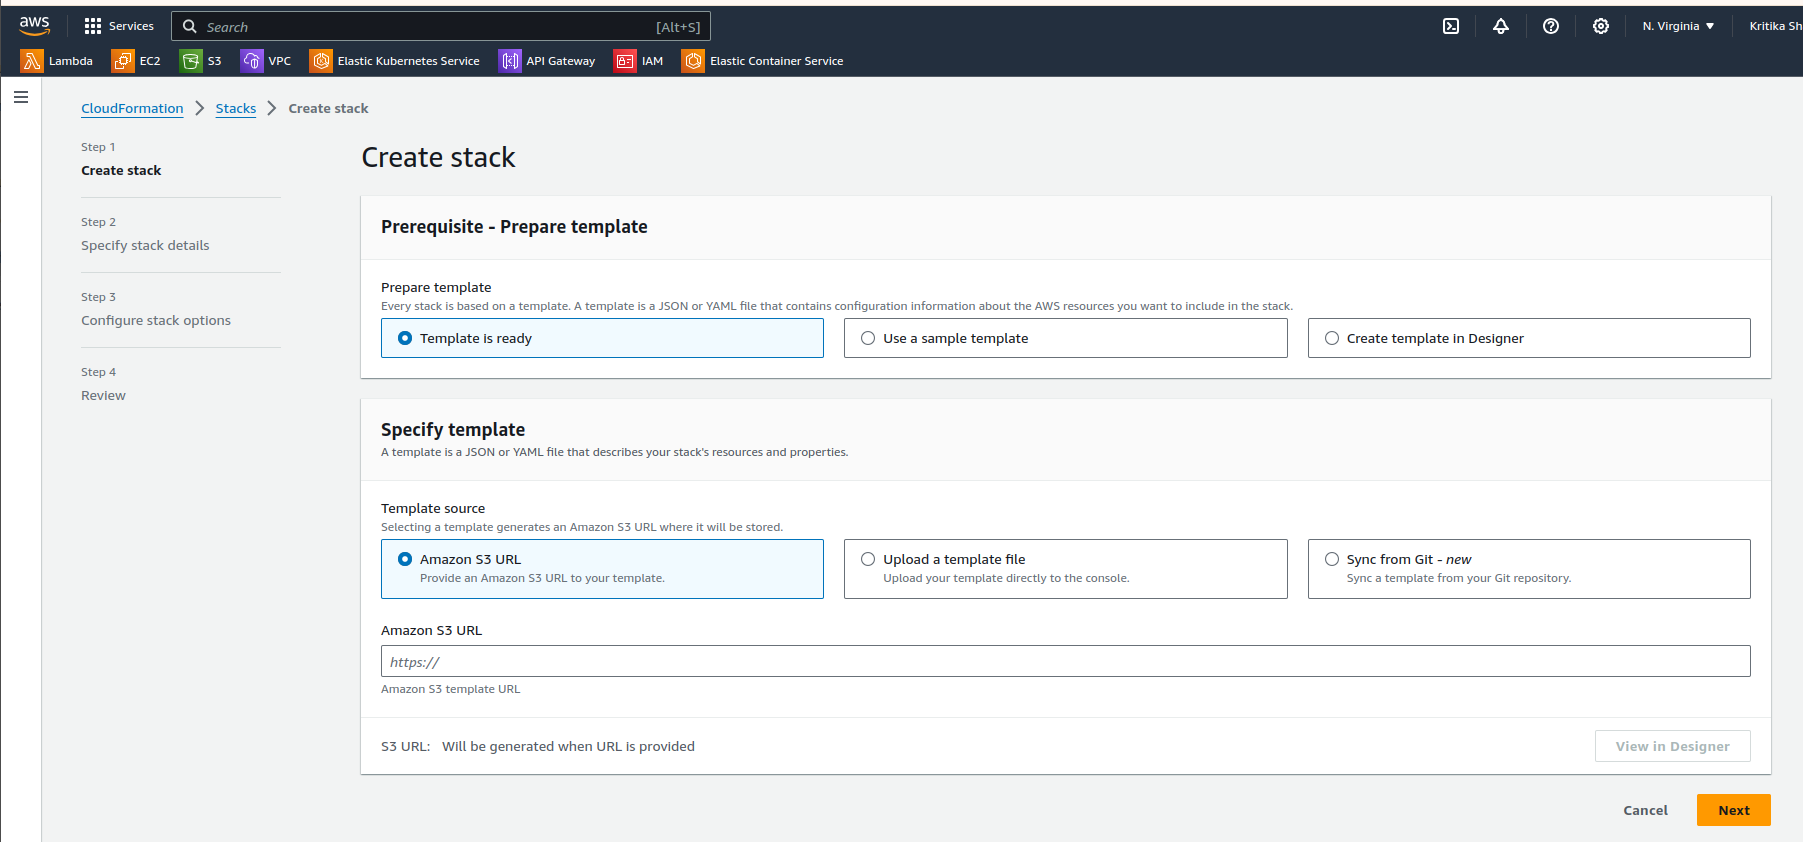
Since we have already created a template we will upload the yaml template.
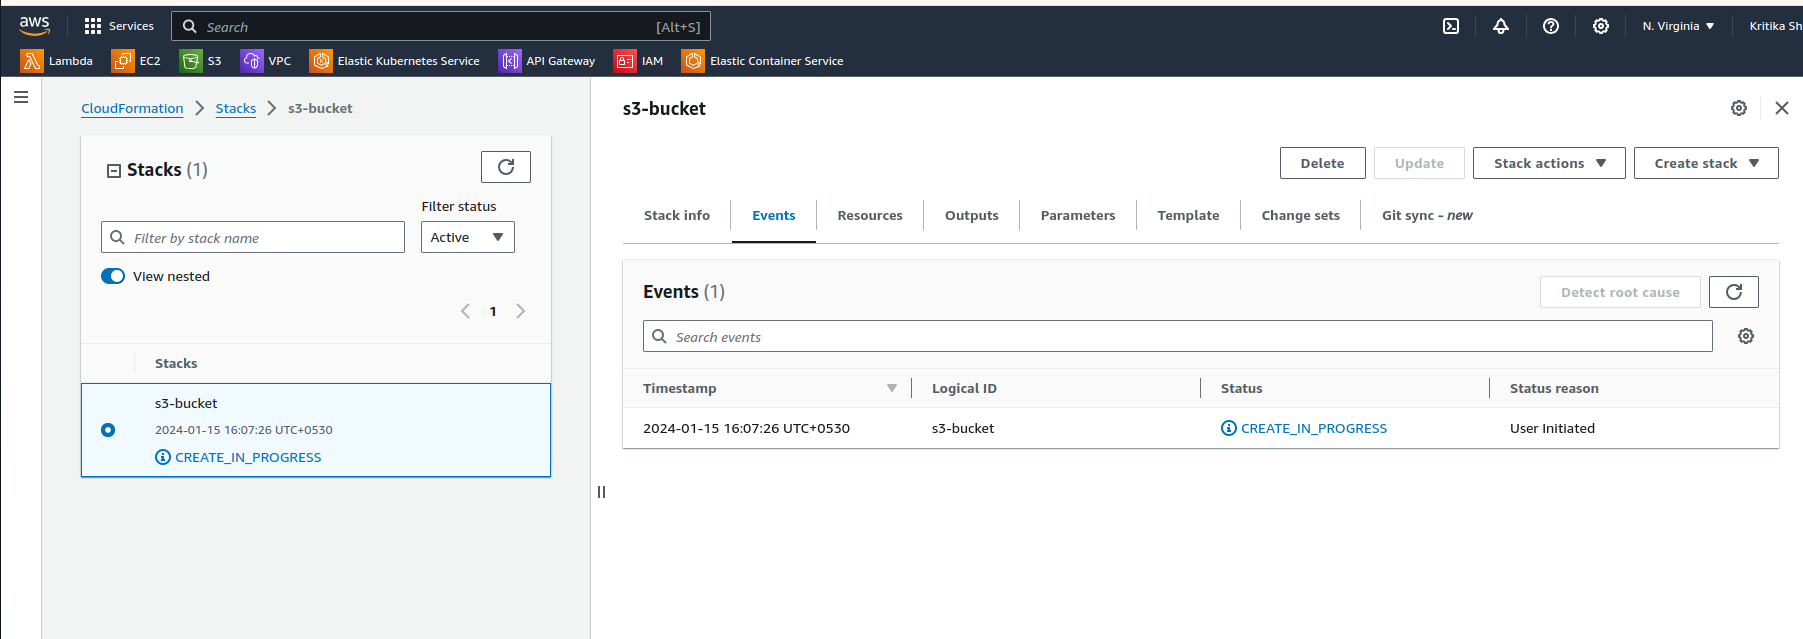
Our template file is uploaded. The sample yam file we uploaded is:
Resources:
  S3BUCKET:
    Type: 'AWS::S3::Bucket'
    Properties:
        BucketName: "demo-aws-subash1122"
        VersioningConfiguration:
            Status: Enabled
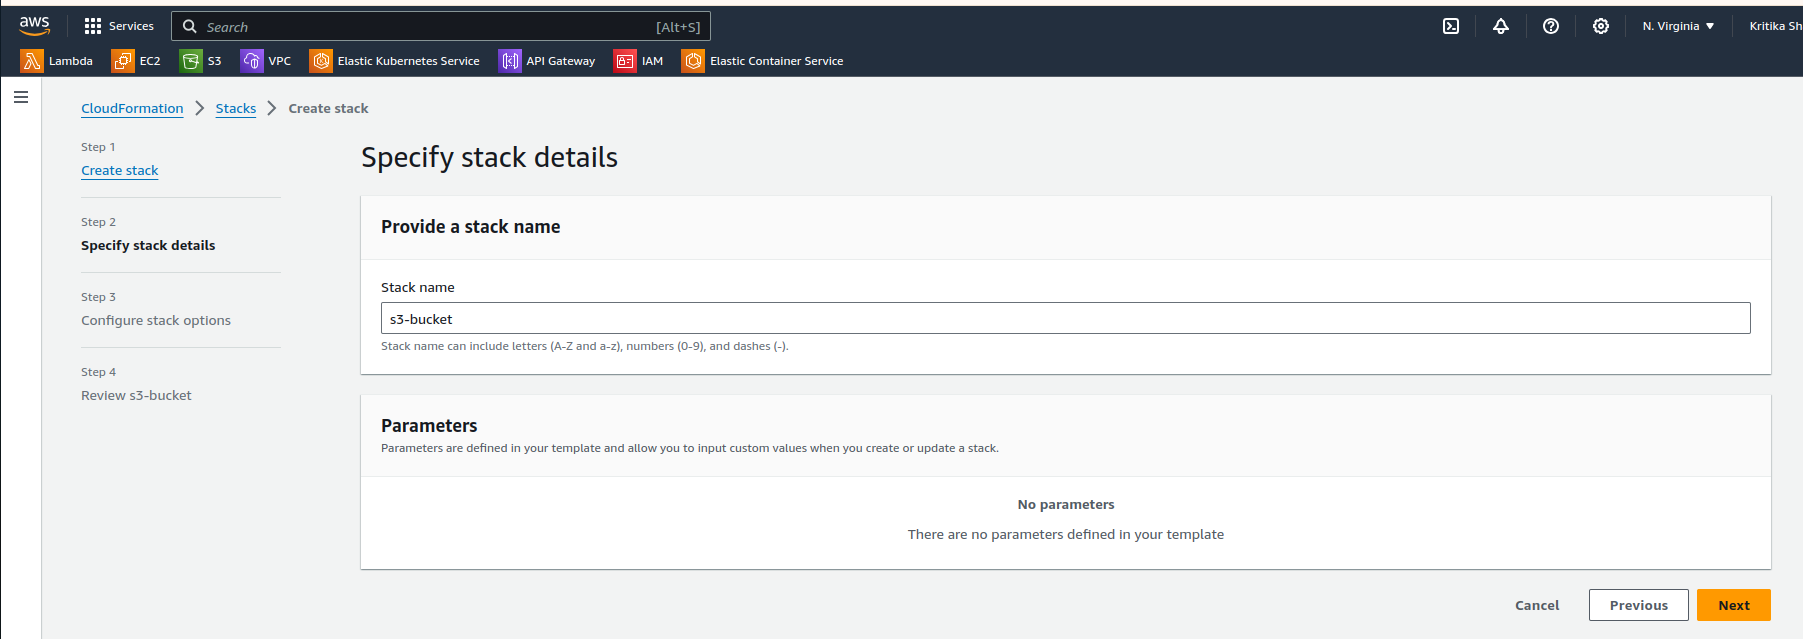
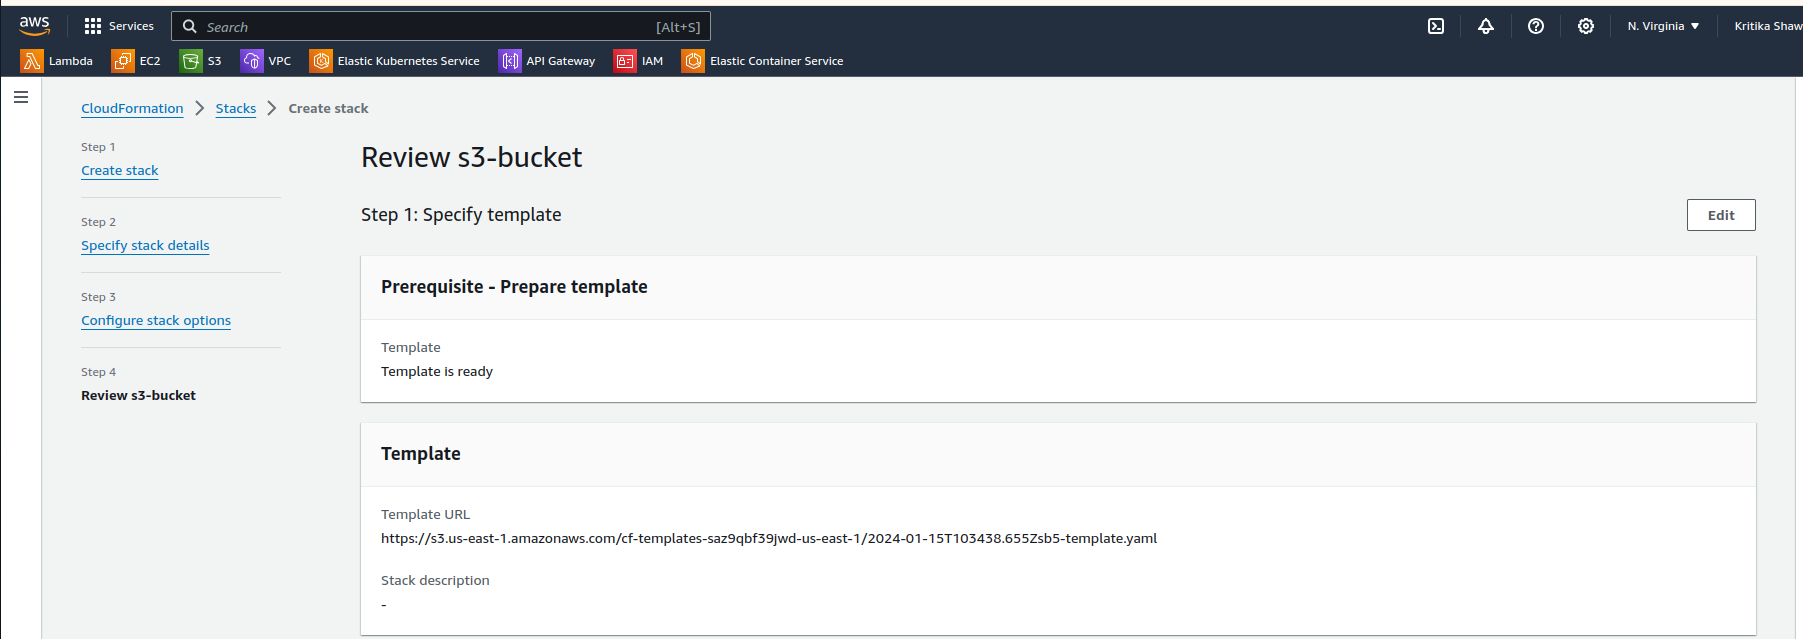
Give a name to the stack and skip all the pages and submit it.
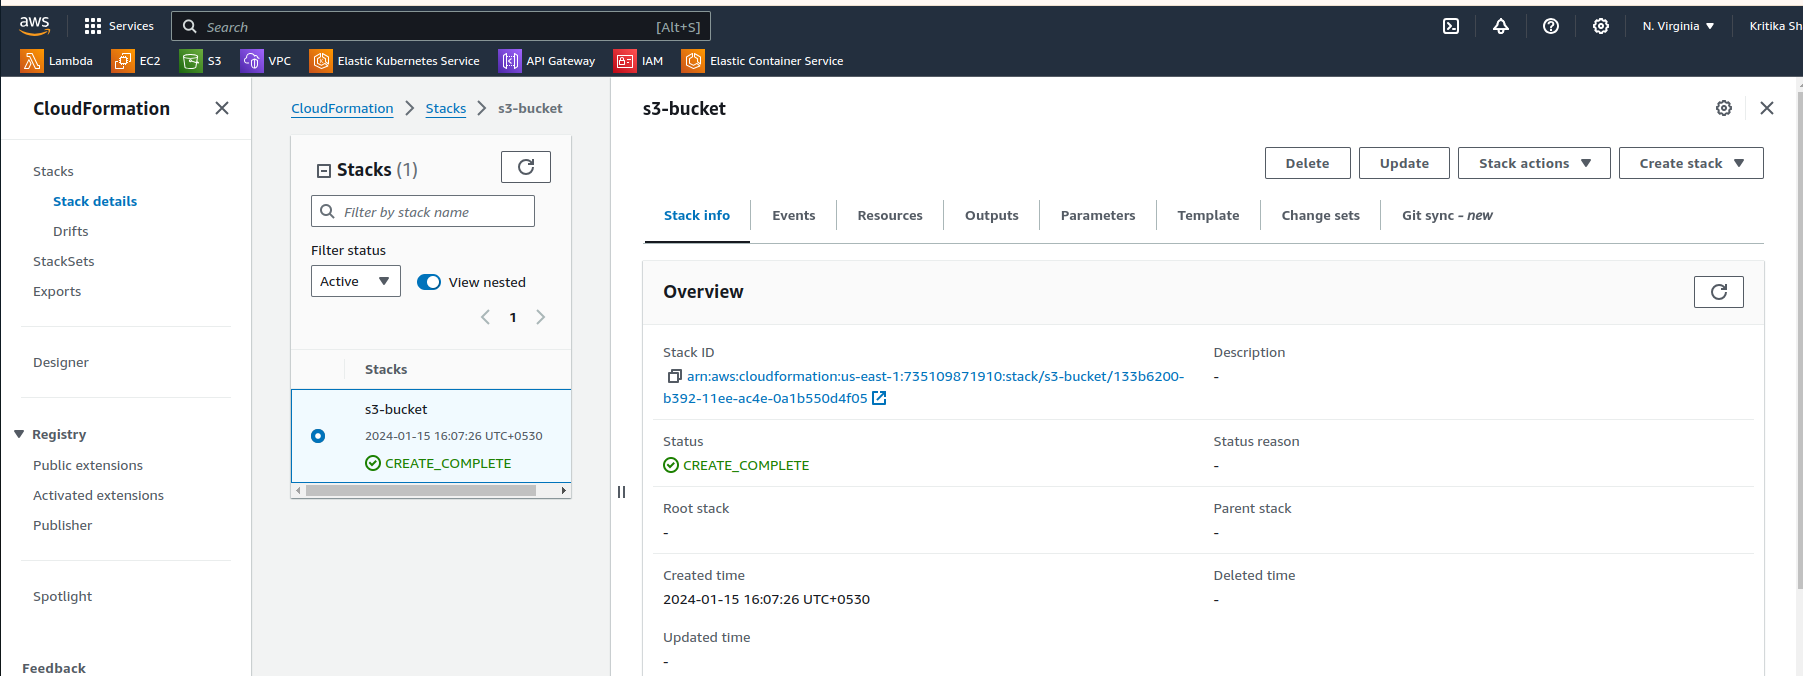
Here we can see in the drifted results that the bucket is deleted.
In AWS CloudFormation, "drift" detects the difference between the expected stack resource configuration and the actual configuration of those resources in the deployed stack
Again let's create an Instance using the AWS CloudFormation Template.
AWSTemplateFormatVersion: '2010-09-09'
Parameters:
  KeyName:
    Type: AWS::EC2::KeyPair::KeyName
    Description: Name of an existing EC2 KeyPair to enable SSH access to the instance
Resources:
  MyEC2Instance:
    Type: 'AWS::EC2::Instance'
    Properties:
      ImageId: ami-0c7217cdde317cfec
      InstanceType: t2.micro
      KeyName: !Ref KeyName
Note: For key pair either use existing one or create the new key pair from the EC2dashboard
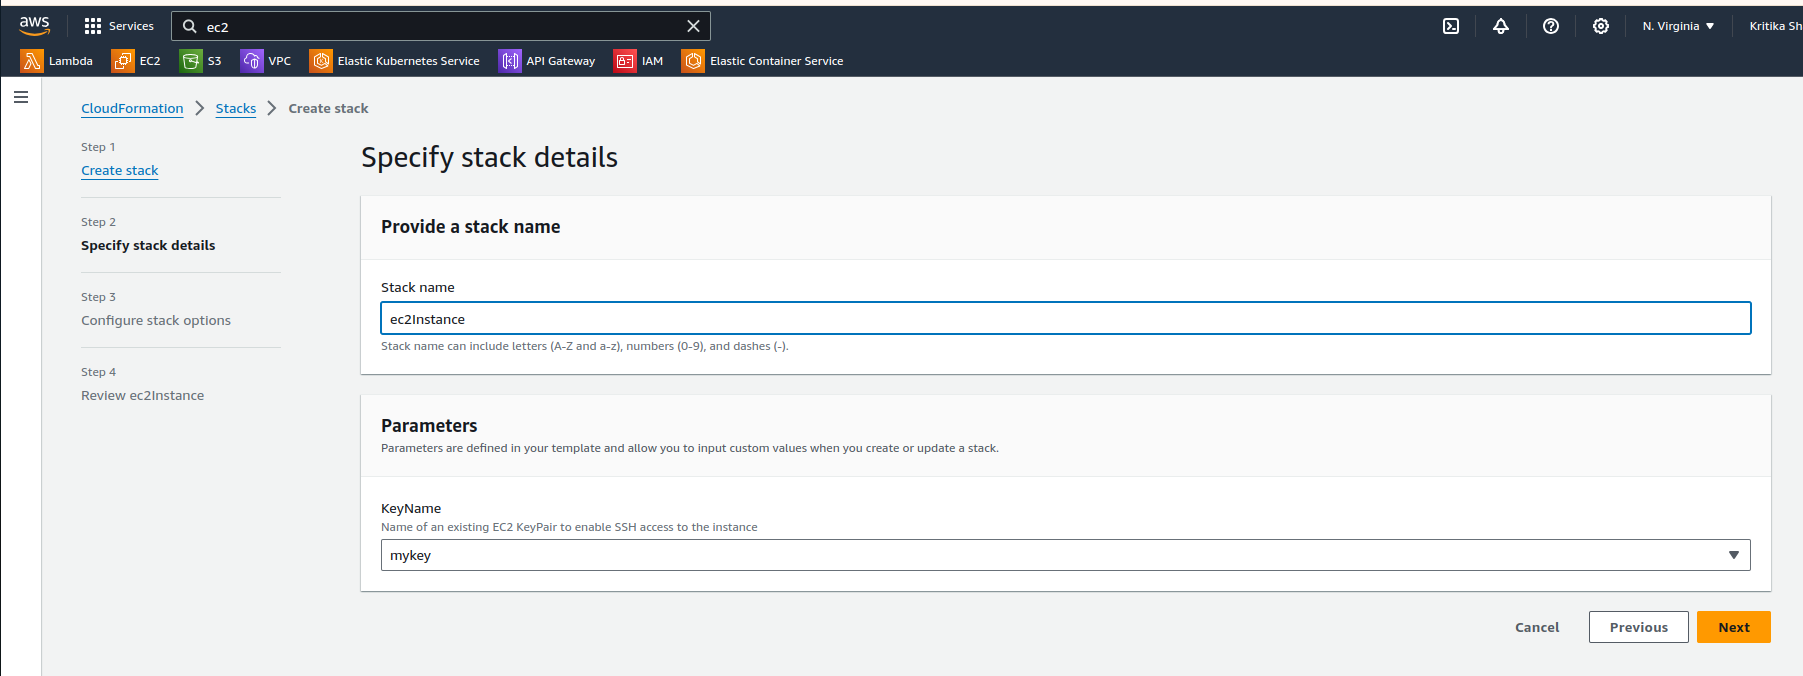
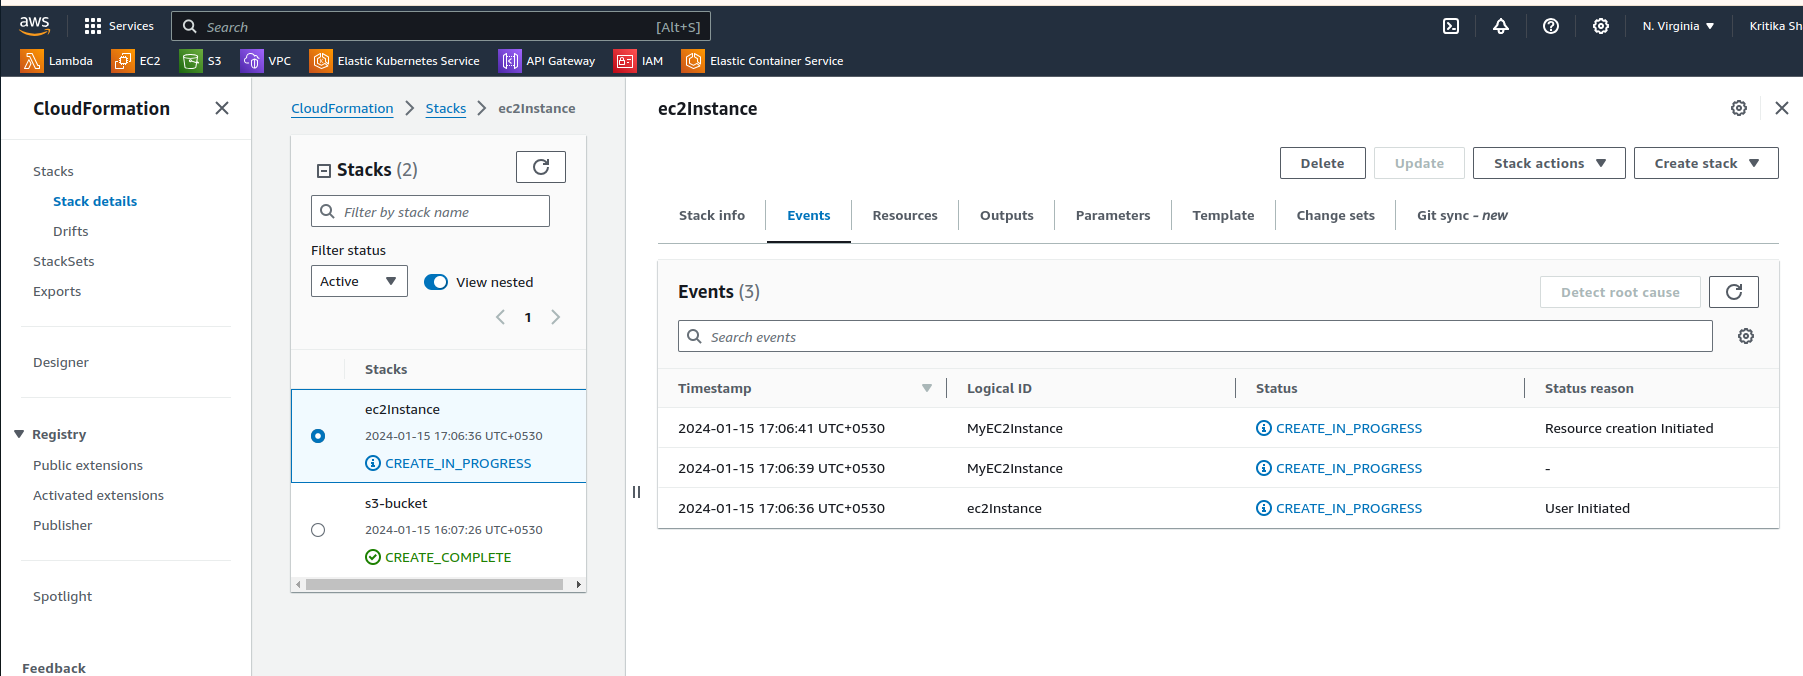
Let's upload it in the cloud formation.
We can see the creation is completed and we will verify it in ec2 dashboard.
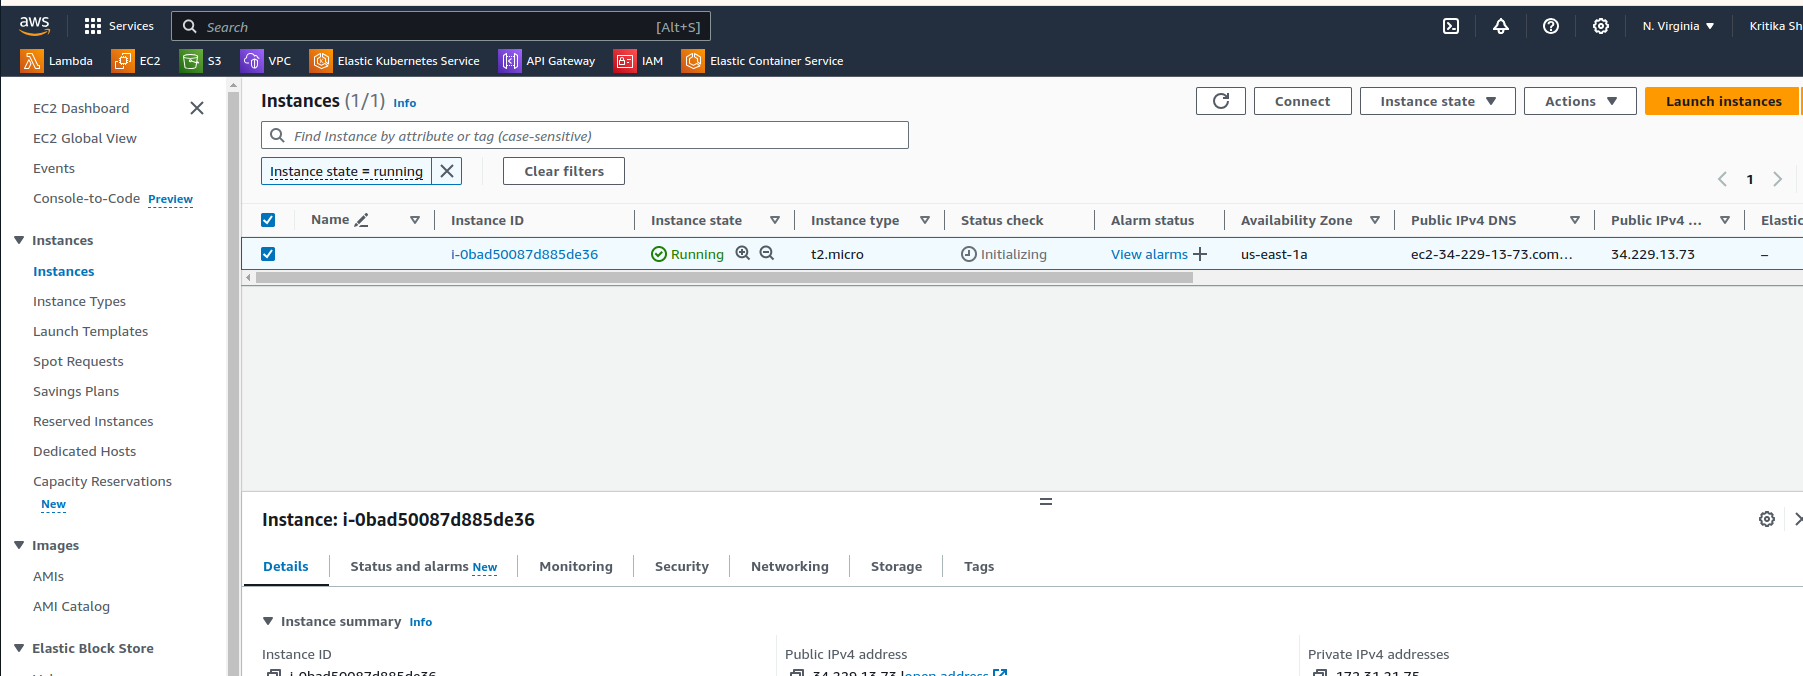
We have successfully accessed the instance that we have created using the CloudFormation.
Note: Don't forget to delete the resources that you created earlier and stay safe from the charges of AWS services
In a nutshell, AWS CloudFormation is like a wizard for setting up our cloud resources on Amazon. It uses written instructions (templates) to create and manage your cloud resources, making it easier and more consistent. We showed how it can create an S3 bucket and an EC2 instance just by following the template. This is handy for automating and organizing your cloud infrastructure without manual hassle.
Thank you so much for taking the time to read till the end! Hope you found this blog informative and helpful.
Feel free to explore more of my content, and don't hesitate to reach out if need any assistance from me or in case of you have any questions.
Happy Learning!
~kritika :)
Connect with me: LinkedIn


