Project-1 DevOps Project

🛠️ Exploring DevOps tools: Docker, Kubernetes, Jenkins, Terraform, and more. 🌐Let's connect, learn, and grow together.
Day 80 of #90daysofdevops
Hey Techies! Welcome to this blog
In this blog, we are going to start with DevOps Project.
Project Description
The project aims to automate the building, testing, and deployment process of a web application using Jenkins and GitHub. The Jenkins pipeline will be triggered automatically by GitHub webhook integration when changes are made to the code repository. The pipeline will include stages such as building, testing, and deploying the application, with notifications and alerts for failed builds or deployments.
Prerequisites
First of all, go to the AWS portal, and create a new instance.
Install Jenkins and Docker & Docker-compose on the instance.
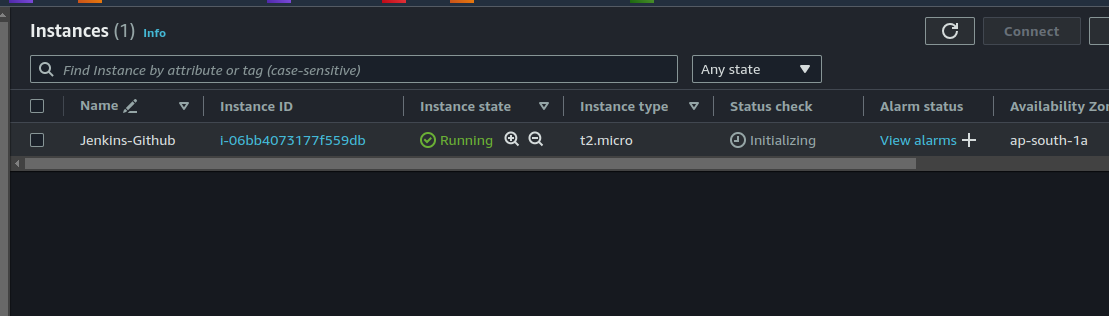
Step 1: Set Up EC2 Instance
Access the EC2 console and create a new EC2 instance.
Step 2: Install Jenkins on AWS EC2 Ubuntu Instance
Install from Jenkins on Ubuntu
Install Java by executing the following command:
sudo apt install openjdk-11-jdk -yAdd the Jenkins Repository:
Import the GPG key:
curl -fsSL https://pkg.jenkins.io/debian-stable/jenkins.io-2023.key | sudo tee /usr/share/keyrings/jenkins-keyring.asc > /dev/nullAdd the Jenkins software repository:
echo deb [signed-by=/usr/share/keyrings/jenkins-keyring.asc] https://pkg.jenkins.io/debian-stable binary/ | sudo tee /etc/apt/sources.list.d/jenkins.list > /dev/null
Install Jenkins:
Update the system repository:
sudo apt update -yInstall Jenkins:
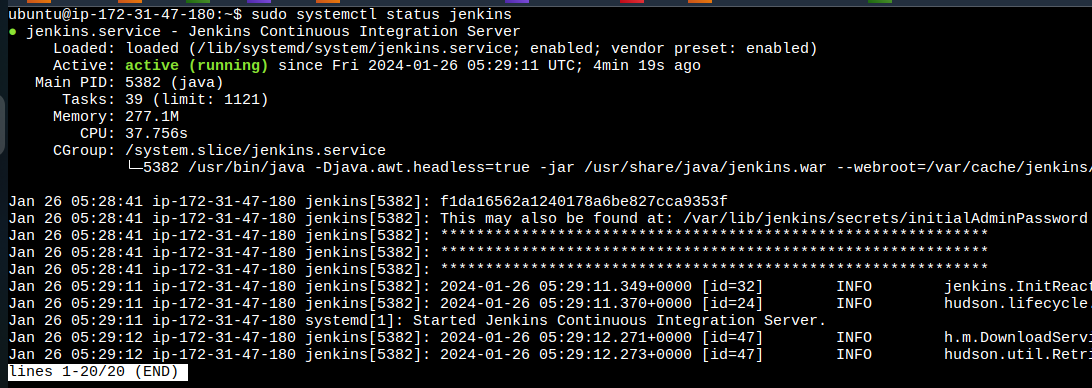
sudo apt install jenkins -yVerify the installation by checking Jenkins status:
sudo systemctl status jenkins
Step 3: Install Docker on EC2 Instance
Install Docker using the command:
sudo apt-get install docker.io -yVerify Docker installation and check the version:
    sudo systemctl status docker
    docker --version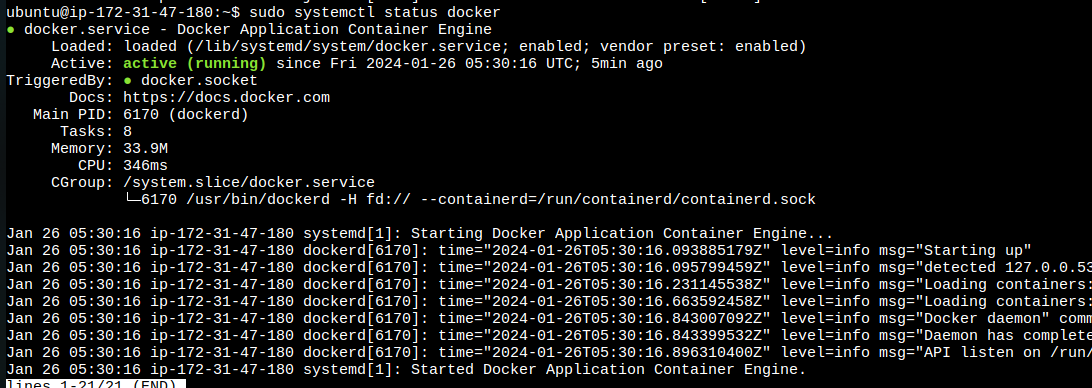
Add your user and Jenkins user to the Docker group:
    sudo usermod -a -G docker $USER
    sudo usermod -a -G docker jenkins
    sudo chown $USER /var/run/docker.sock
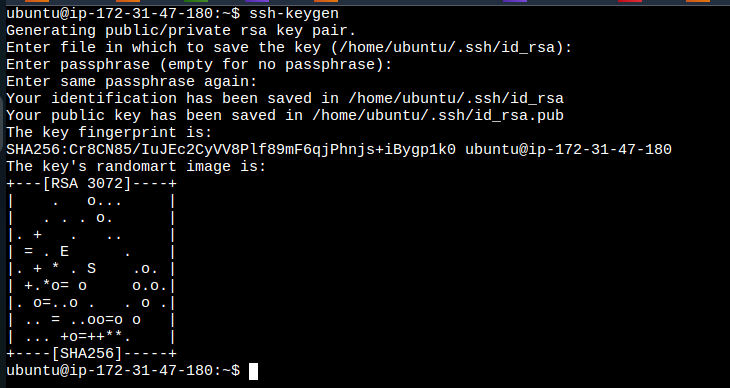
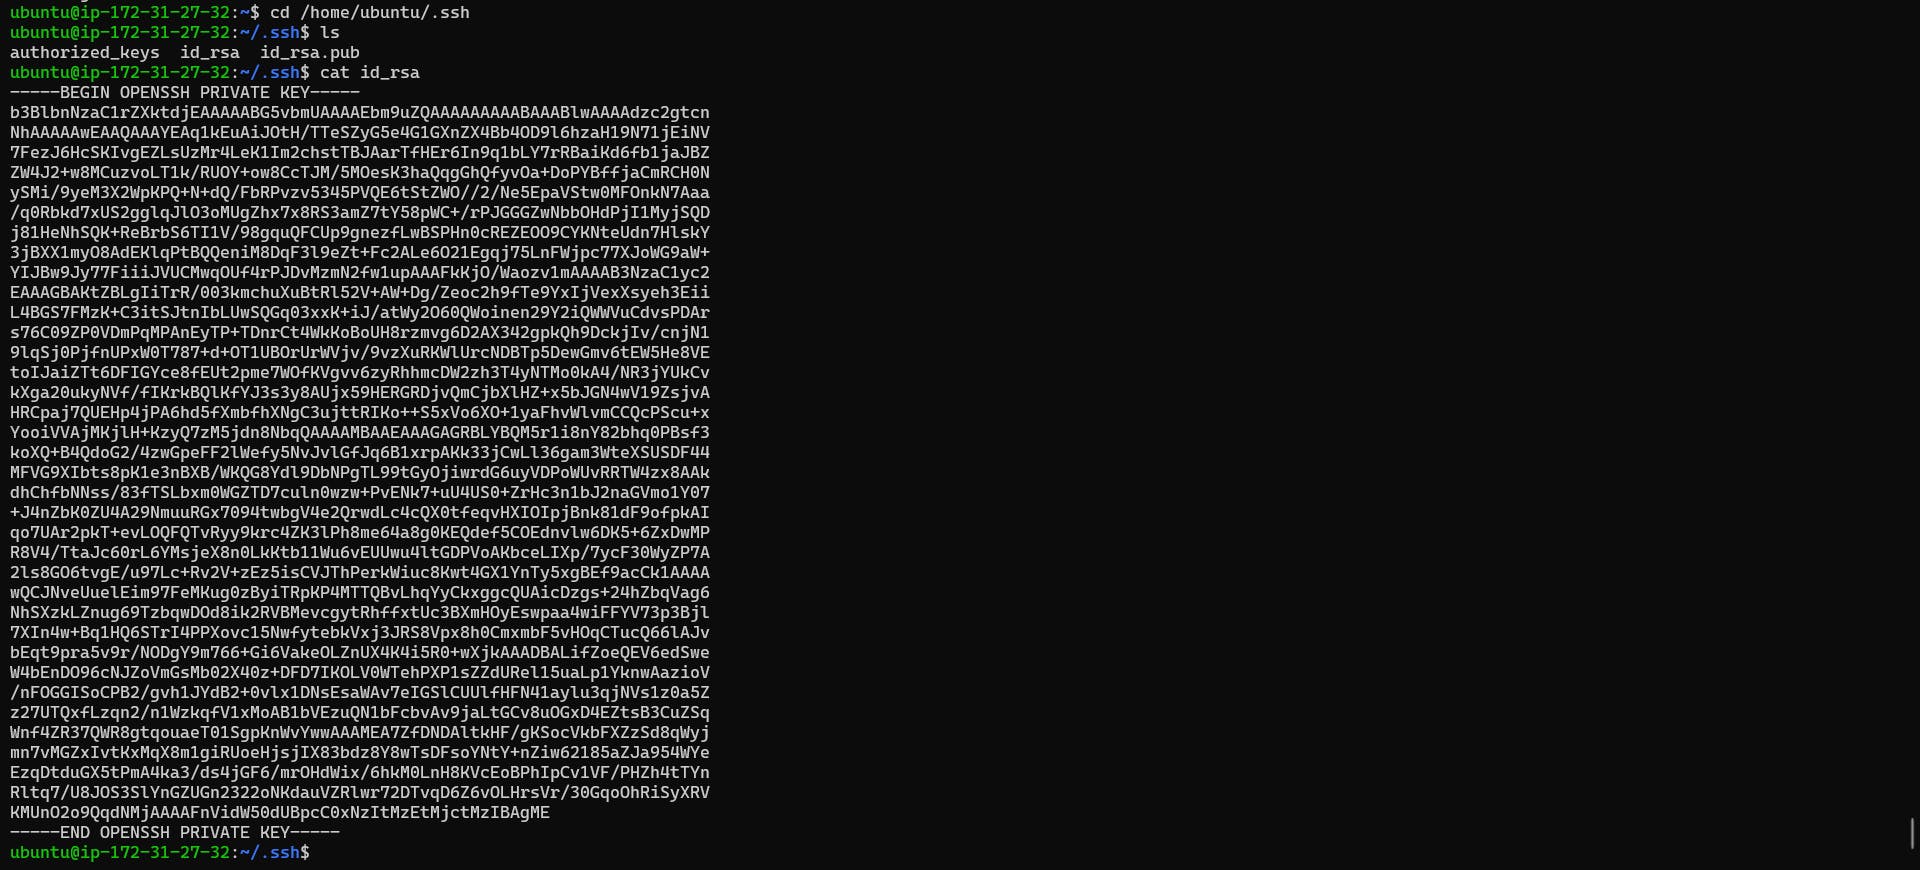
Step 4: Generate SSH Keys
- Generate SSH keys for Jenkins-Git integration using the command:
ssh-keygen
Step 5: Configure Jenkins and EC2 for Port 8080
Allow traffic on port 8080 in the instance’s security group.
Configure the instance’s firewall to allow traffic on port 8080.
Step 6: Jenkins Setup
- Access Jenkins dashboard at
instance-public-IP/8080.
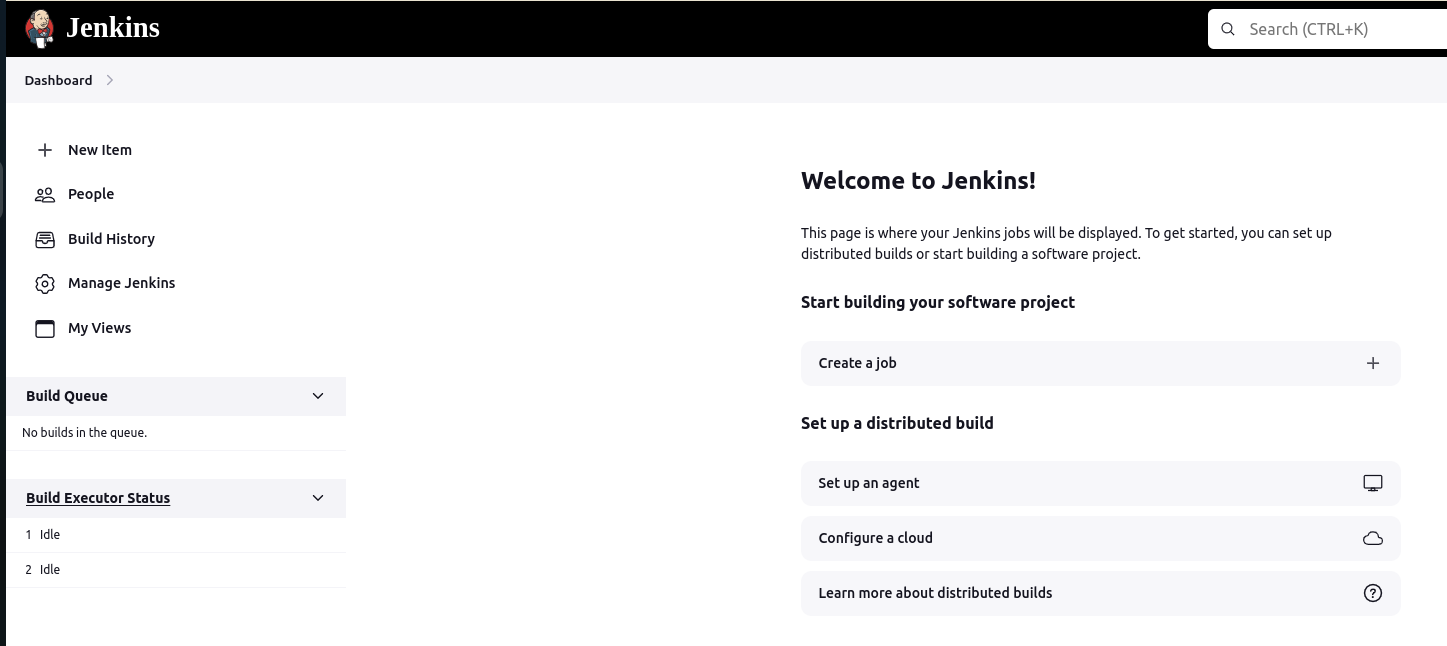
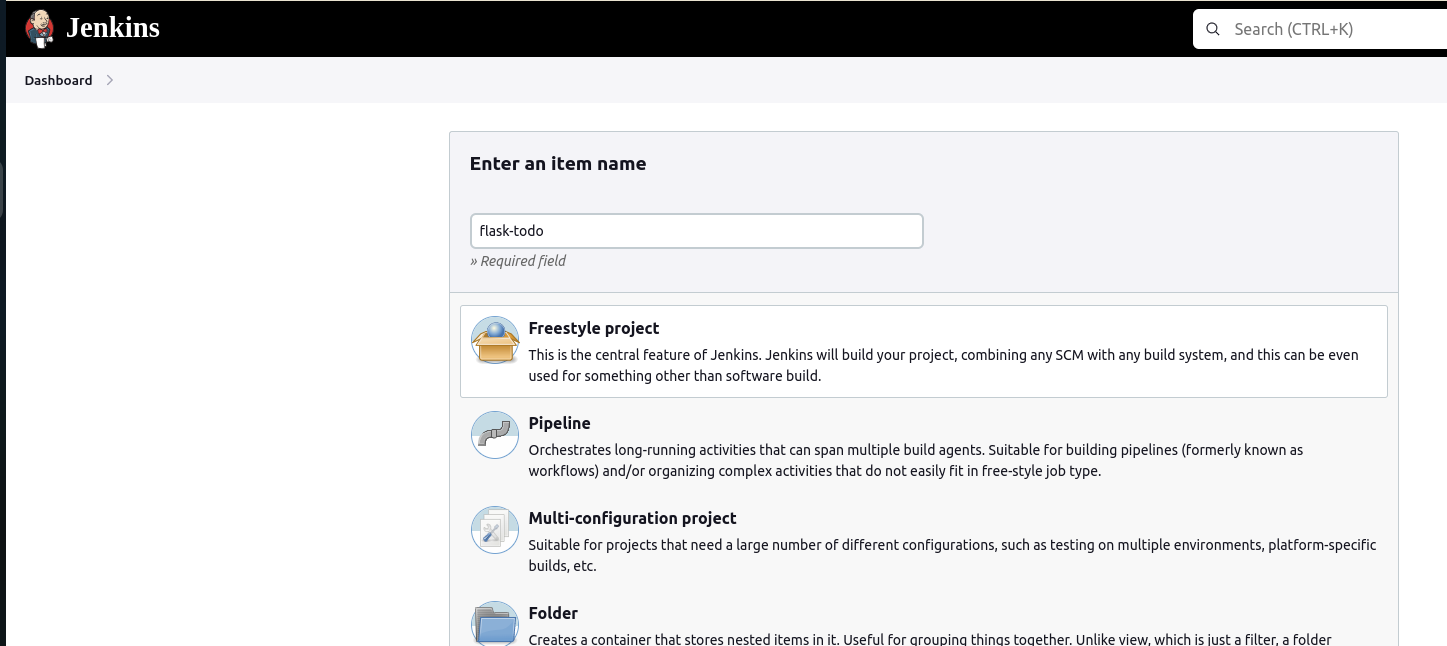
Step 7: Create Freestyle Project
- In Jenkins dashboard, click on 'New Item.'
Name the project, select "Freestyle project" as the type.
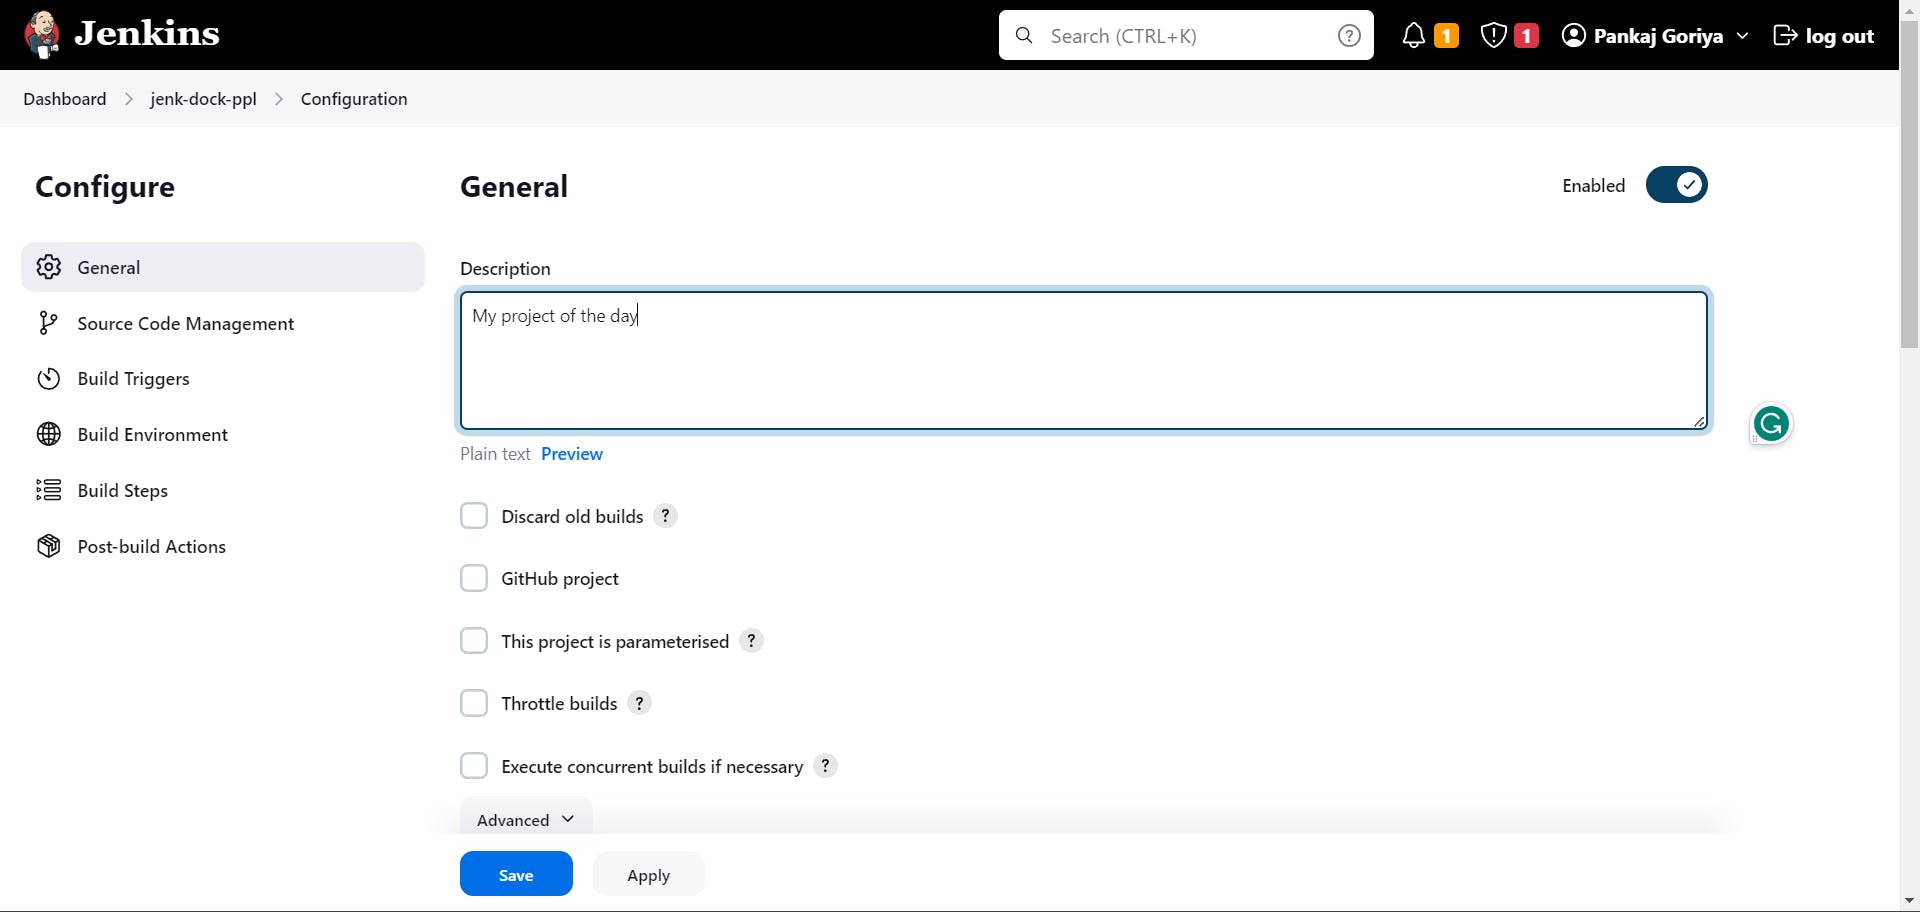
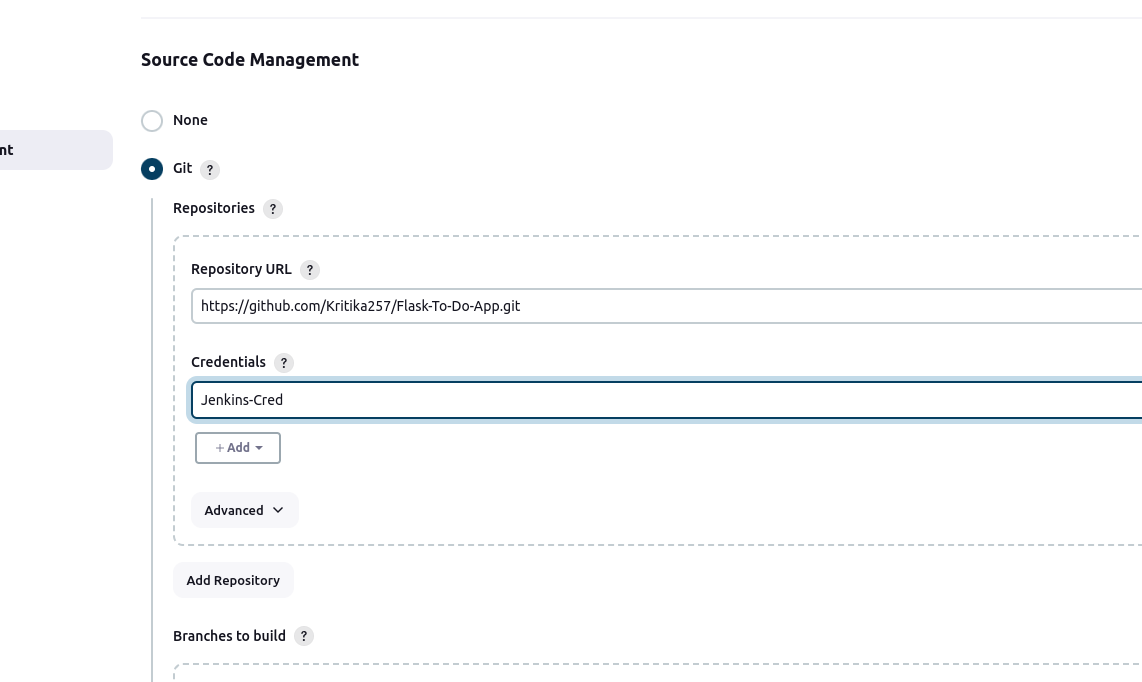
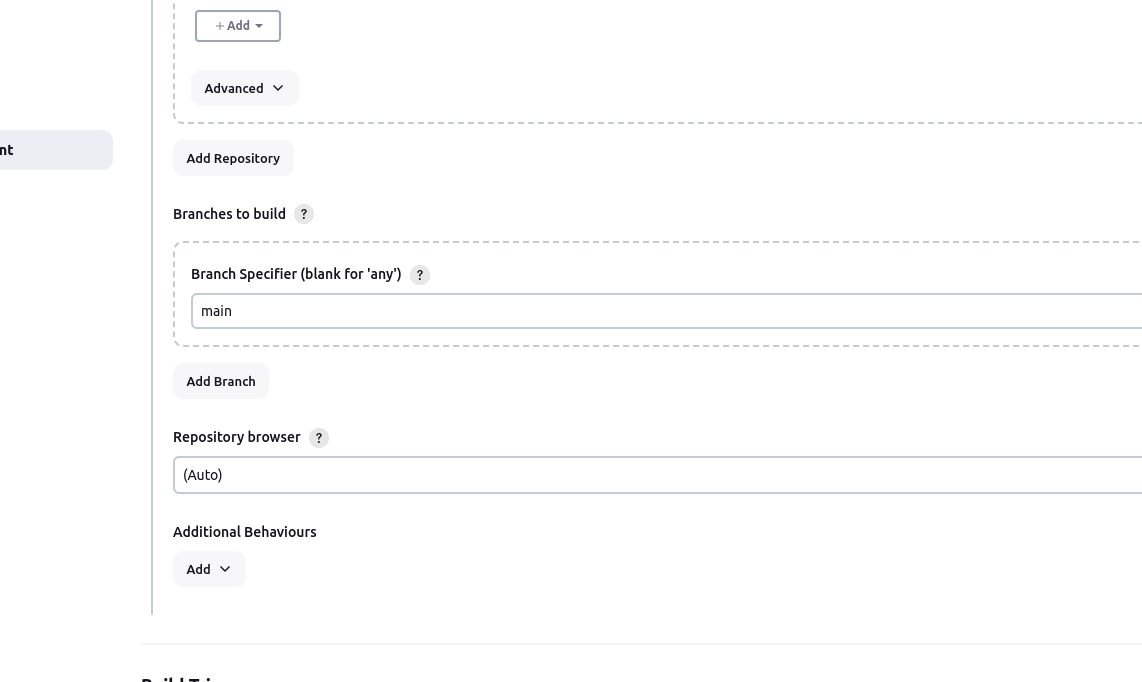
Configure the project, including source code management (GitHub URL) and credentials.
Add the private key generated using
ssh-keygen.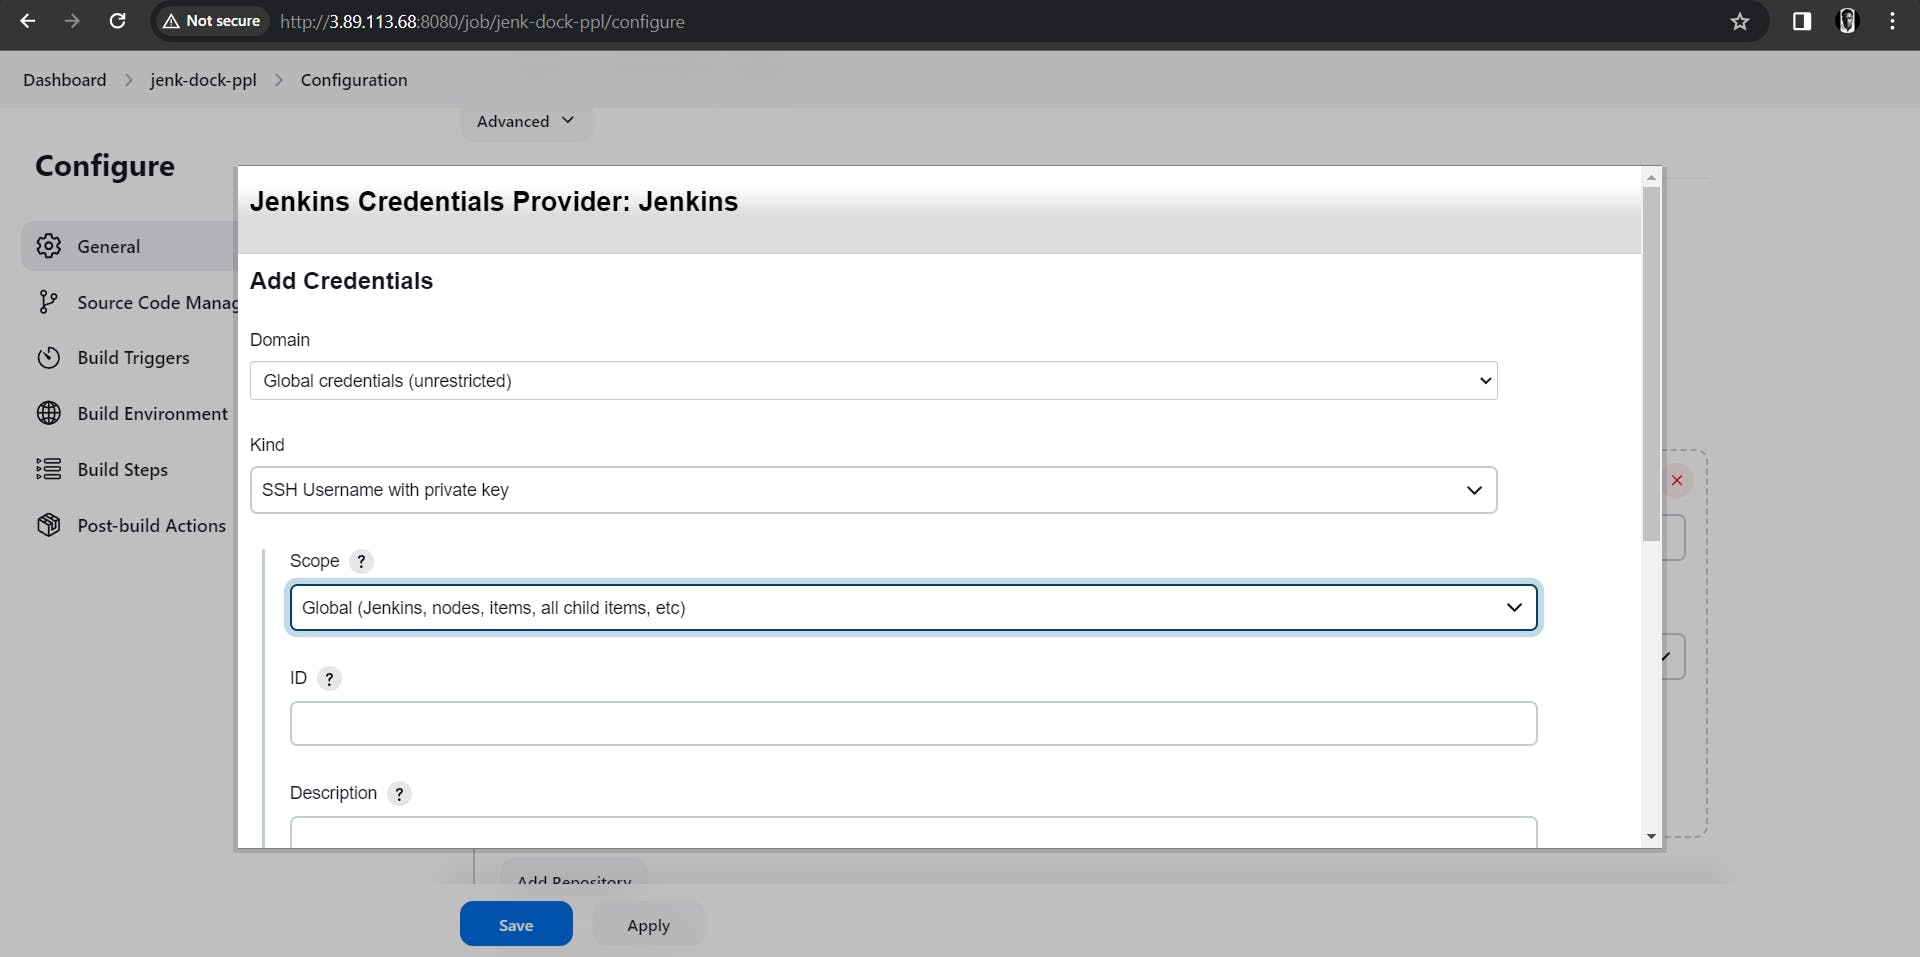
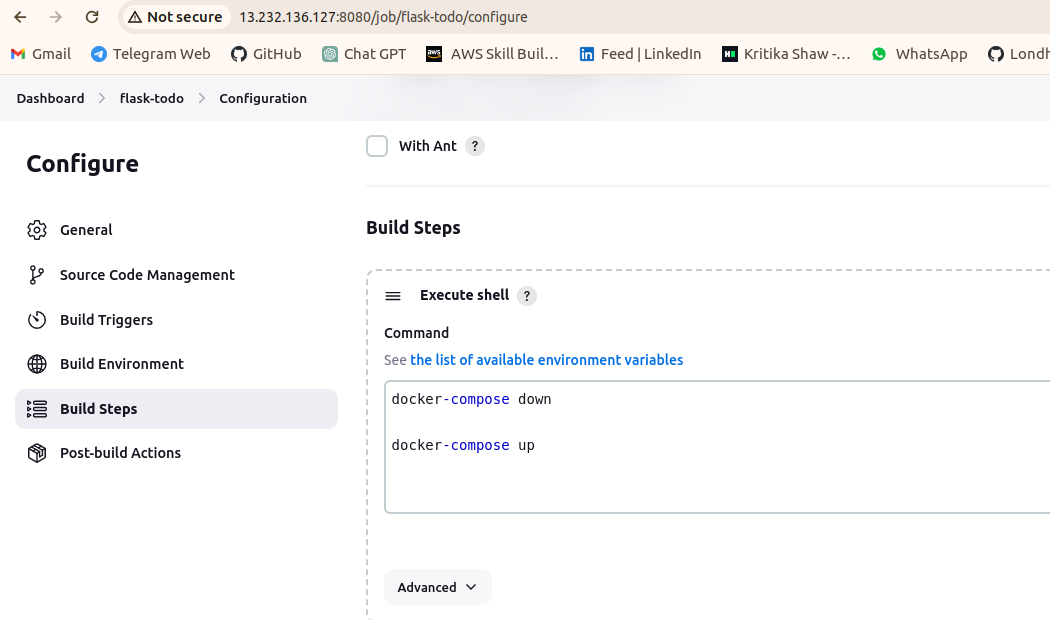
In build steps, select 'Execute shell' and run Docker commands.
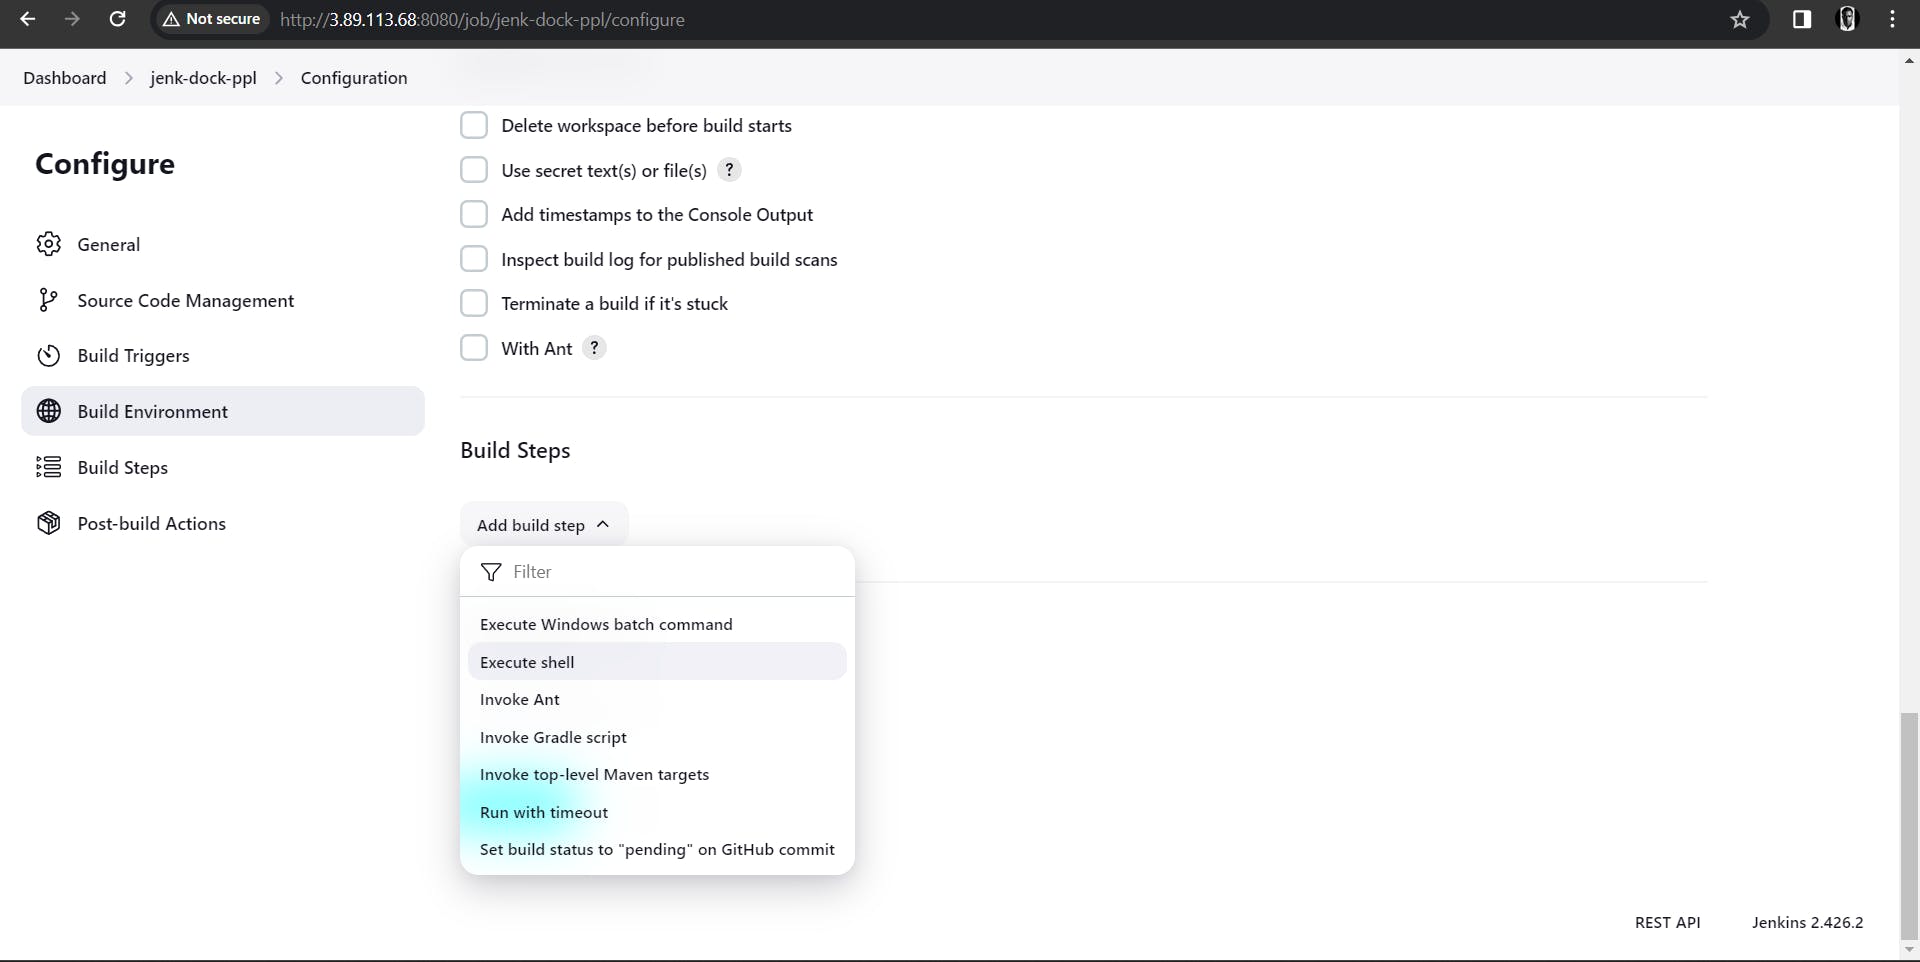
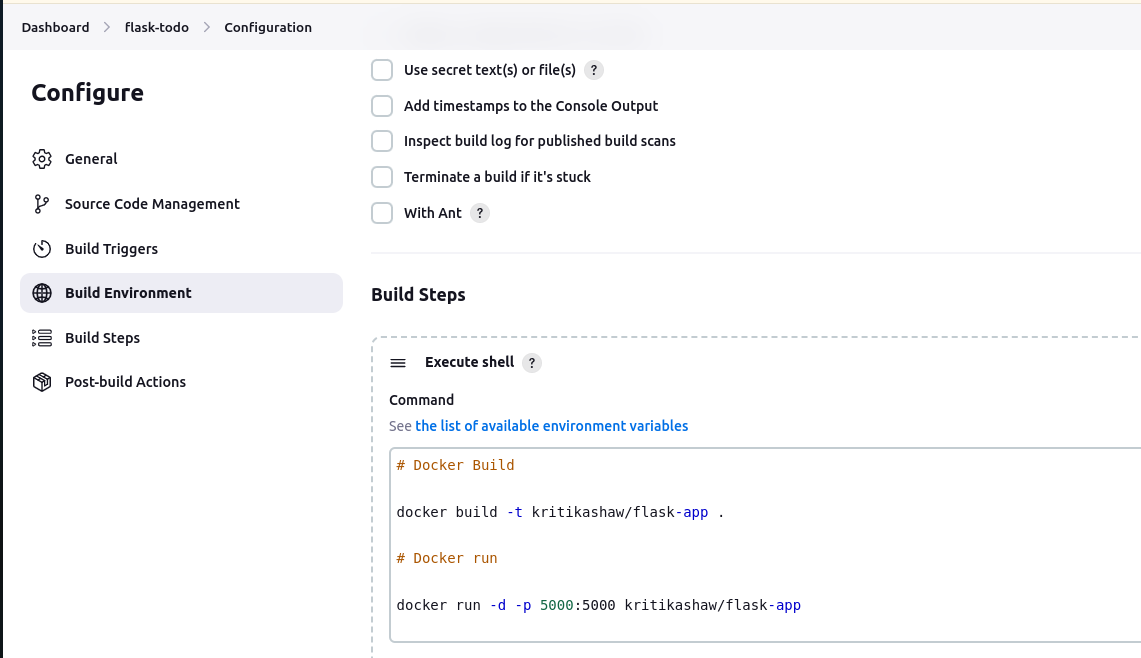
Save to create a Jenkins job.
Click on "Build Now" to execute the job.
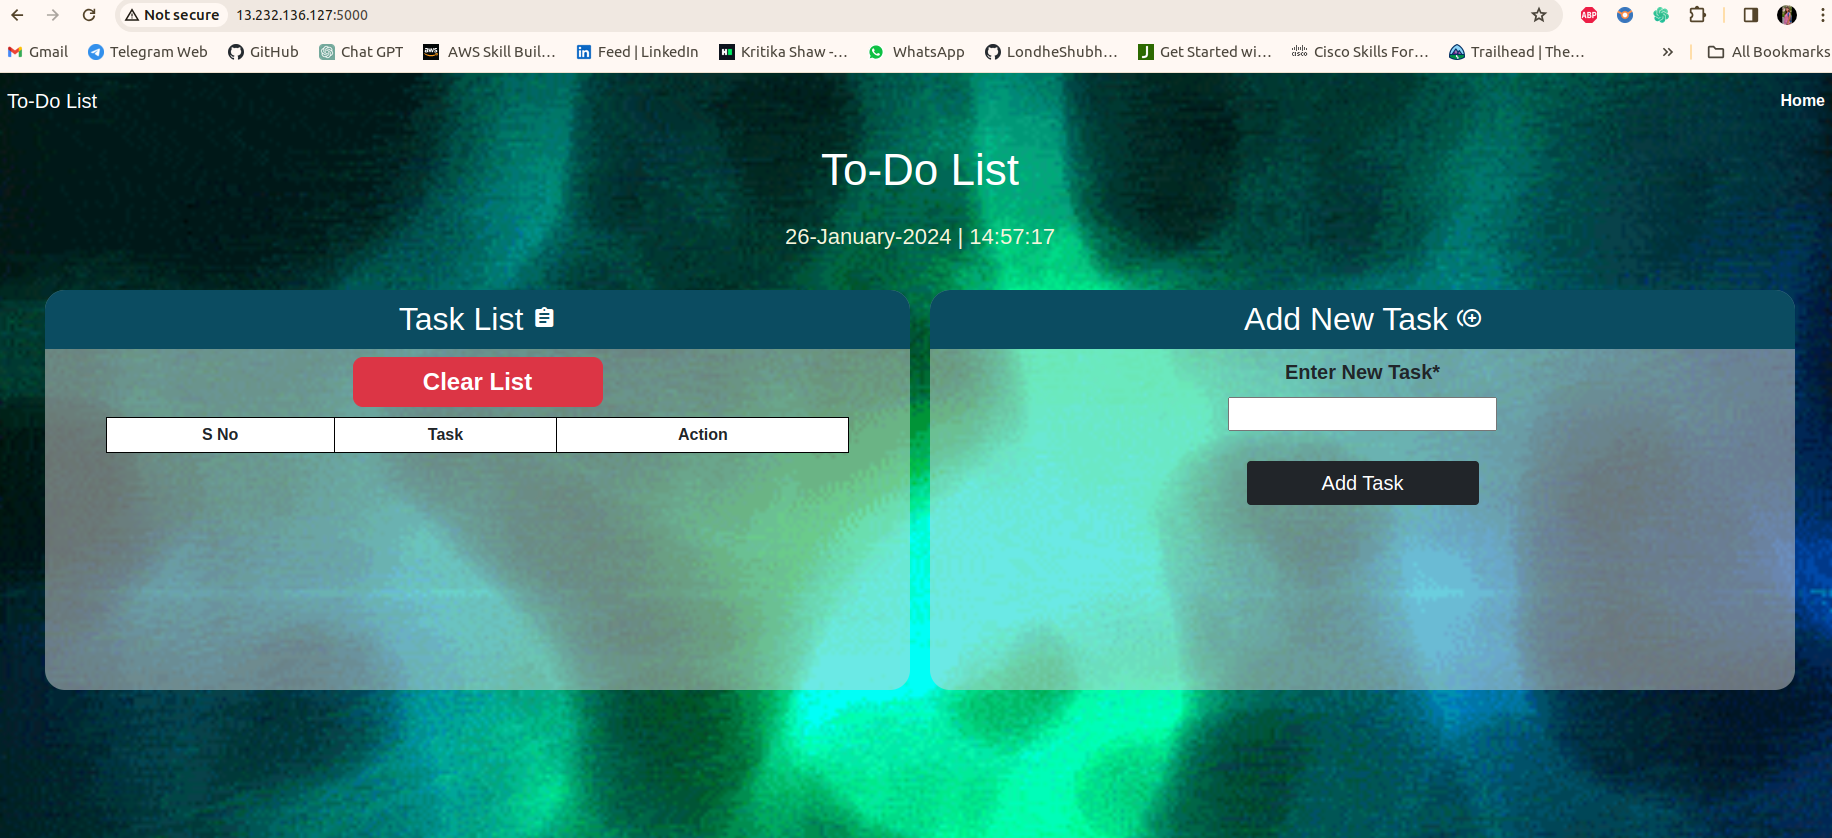
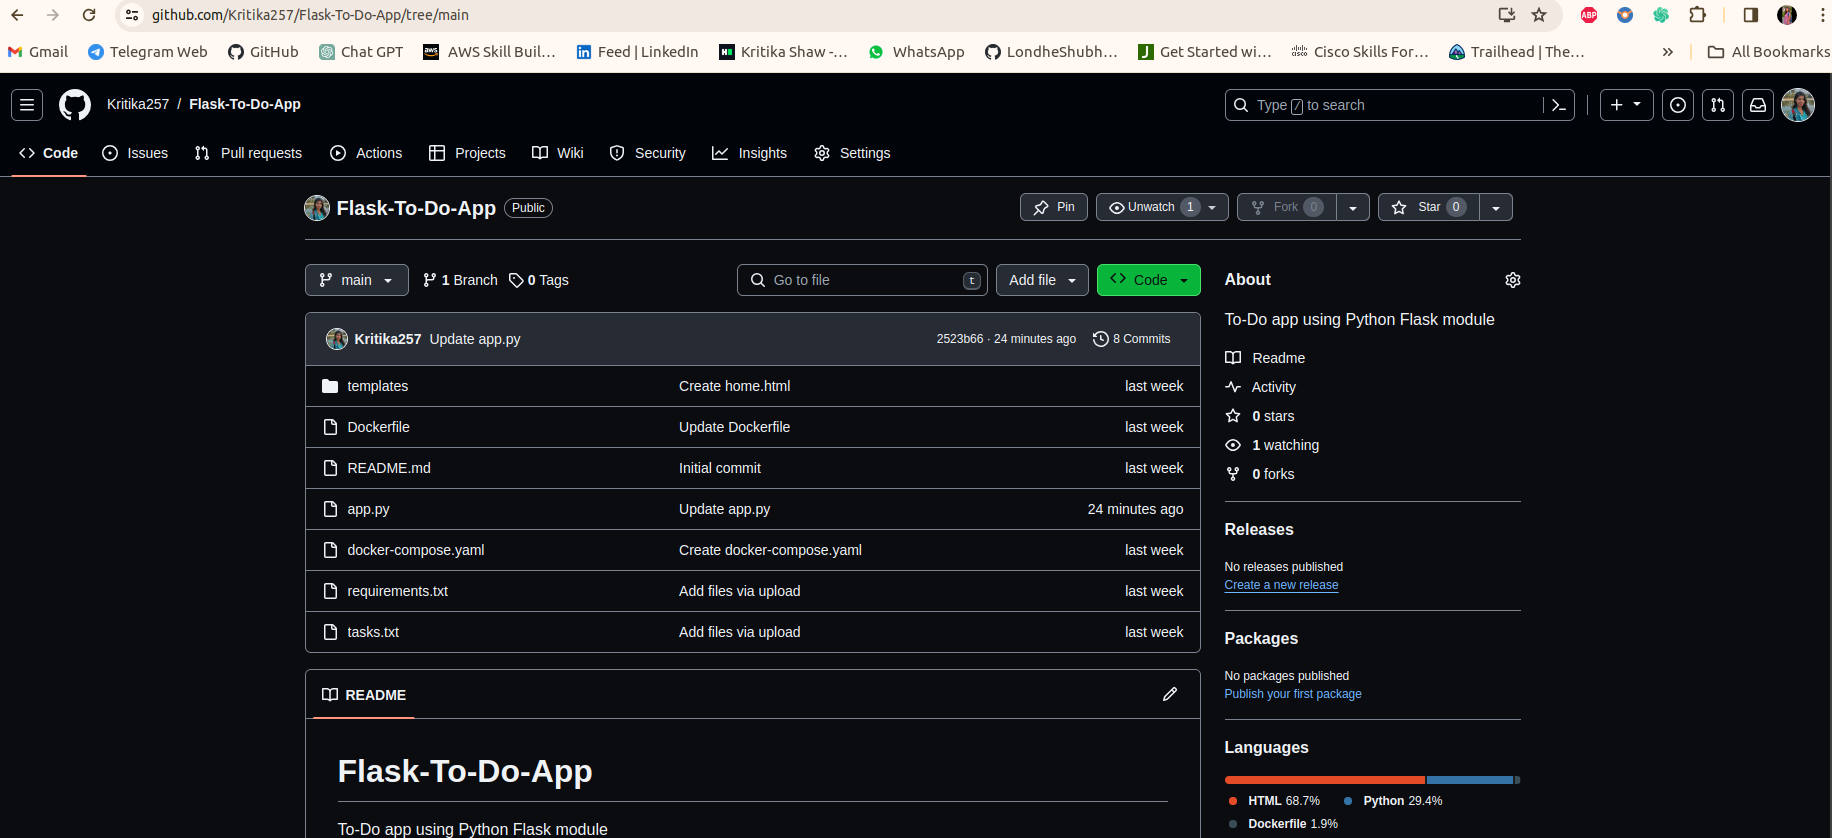
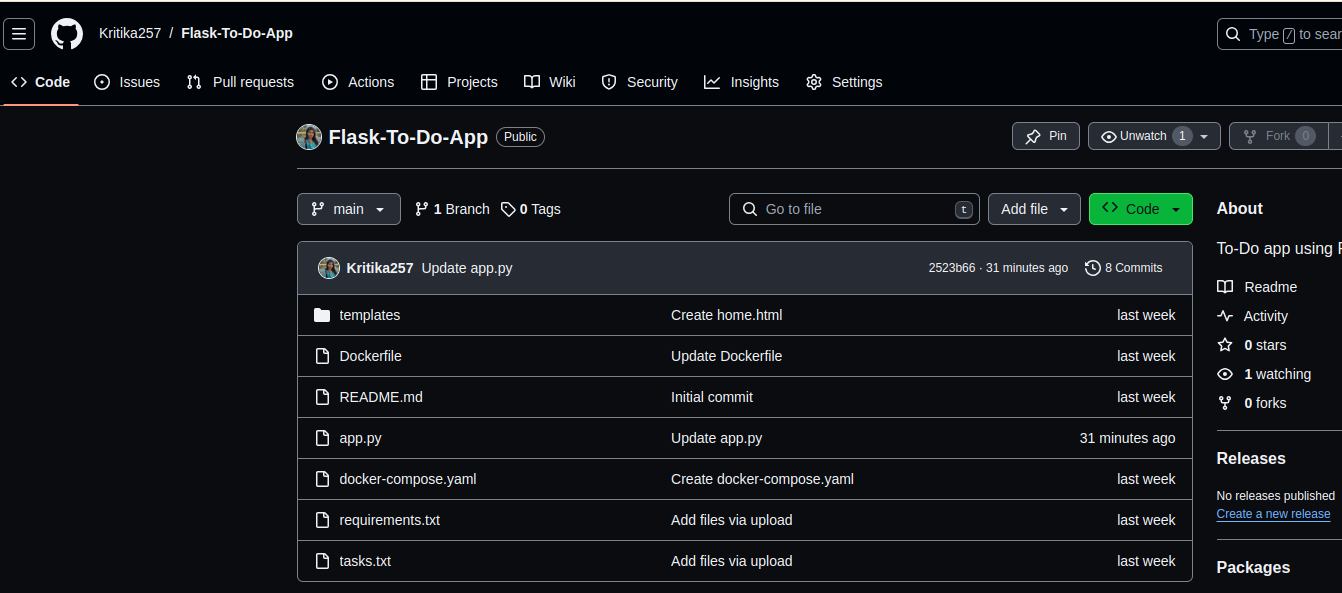
The GitHub project repository is established on an EC2 instance through a Jenkins job.

Following this, a Jenkins pipeline is employed to produce a Docker image and container.

To access the result, simply browse the public IP address with port number 5000.
Step 8: GitHub Webhook Integration
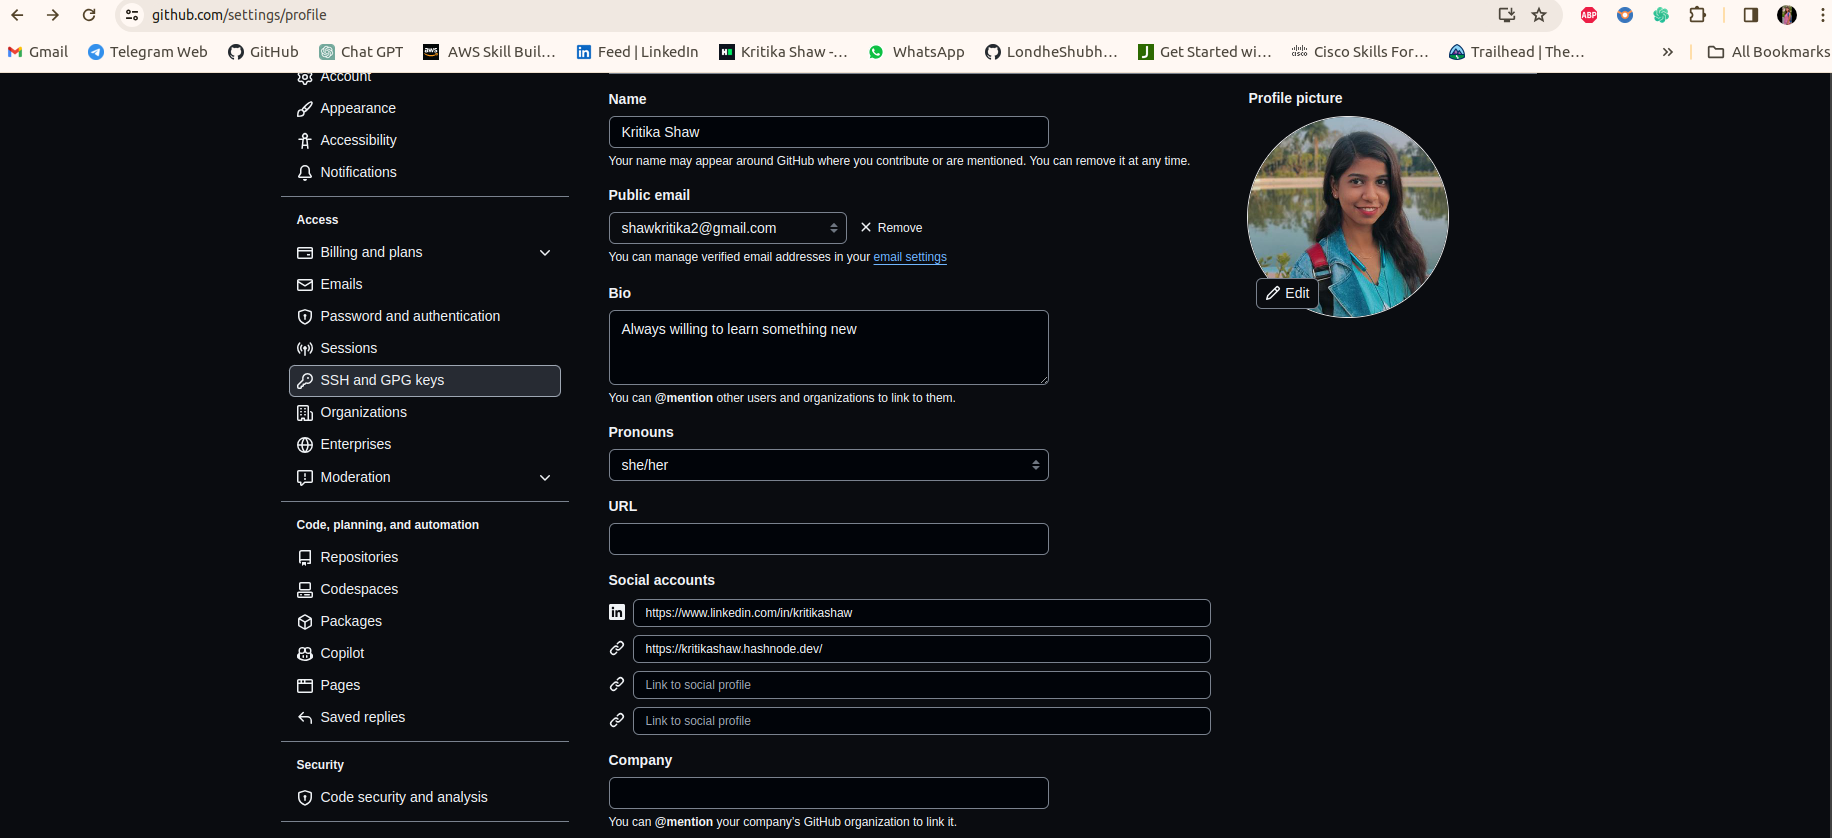
Configure GitHub:
- Go to GitHub account settings.
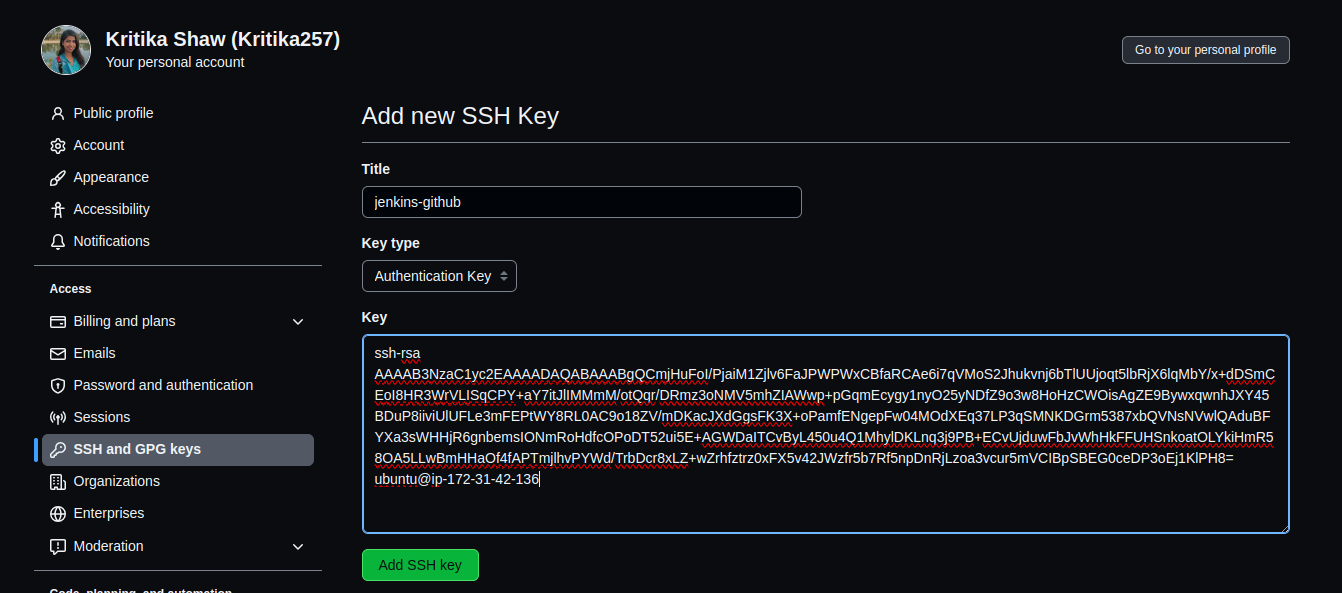
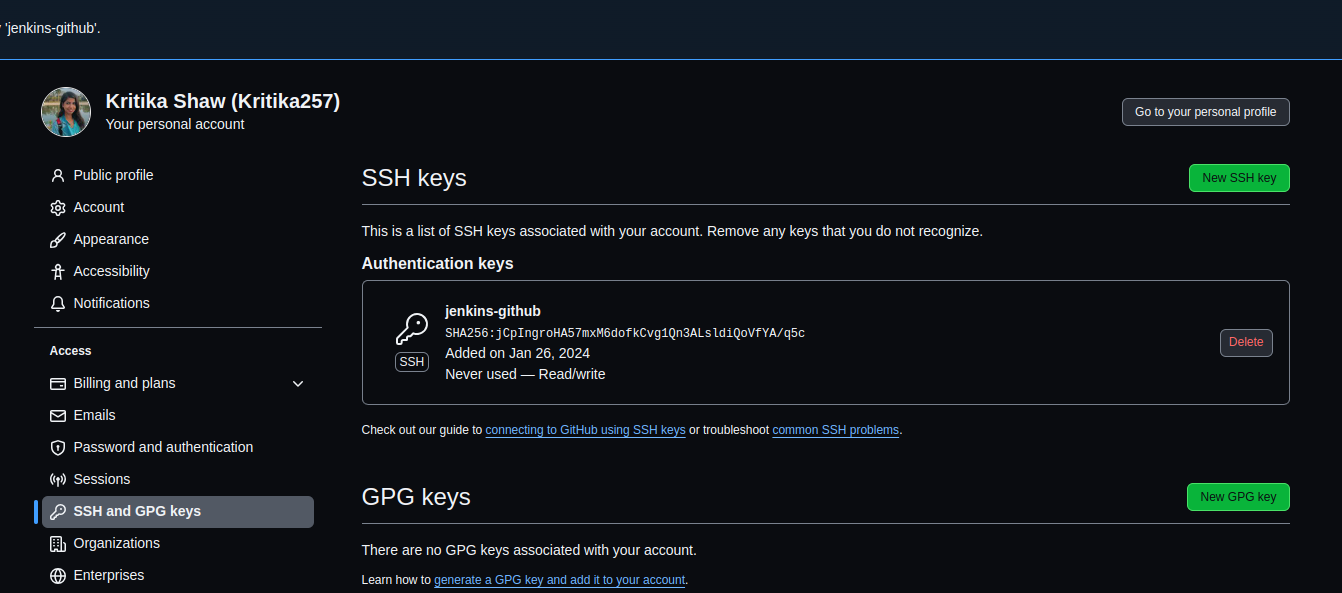
- Add the public key generated by
ssh-keygento SSH and GPG keys.

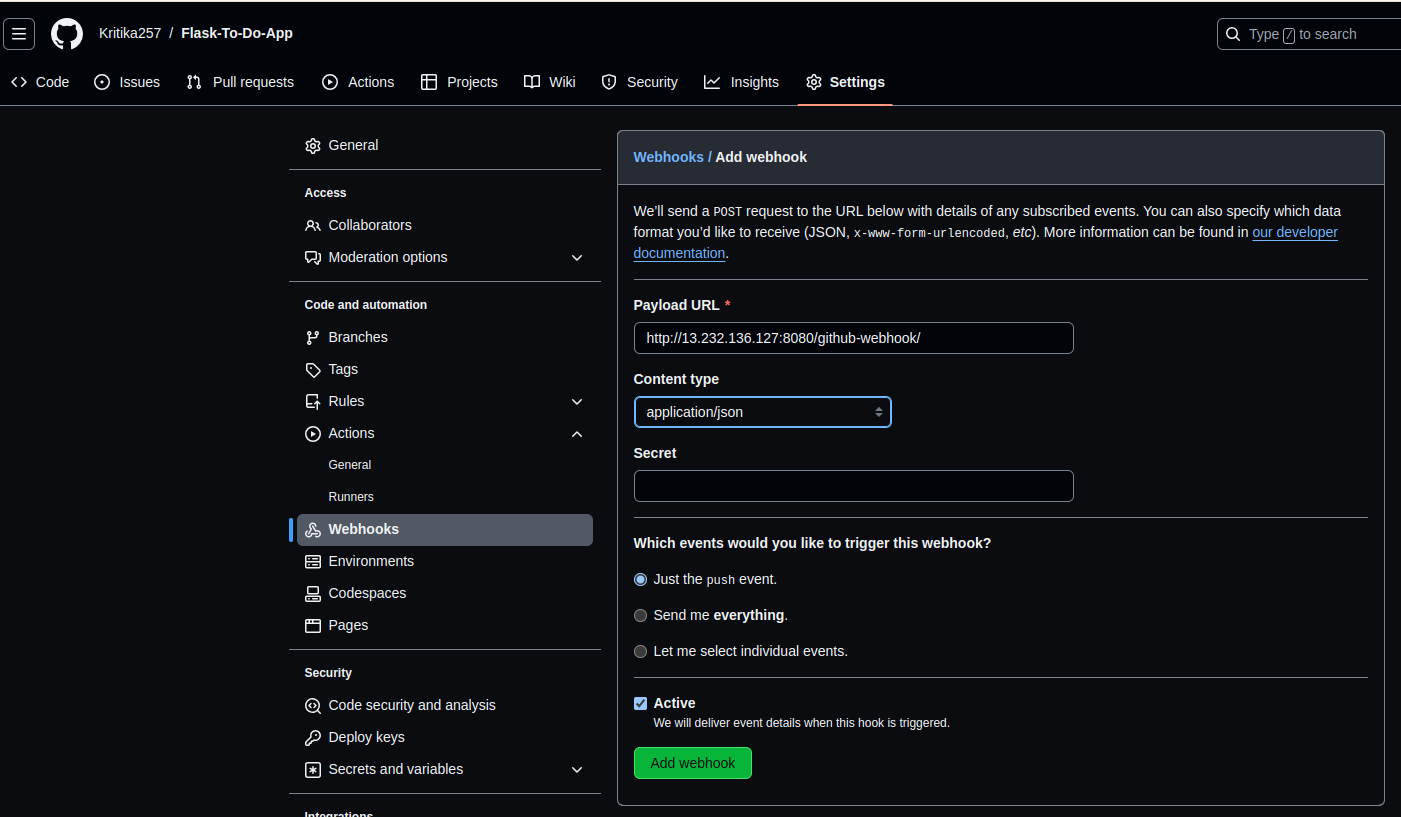
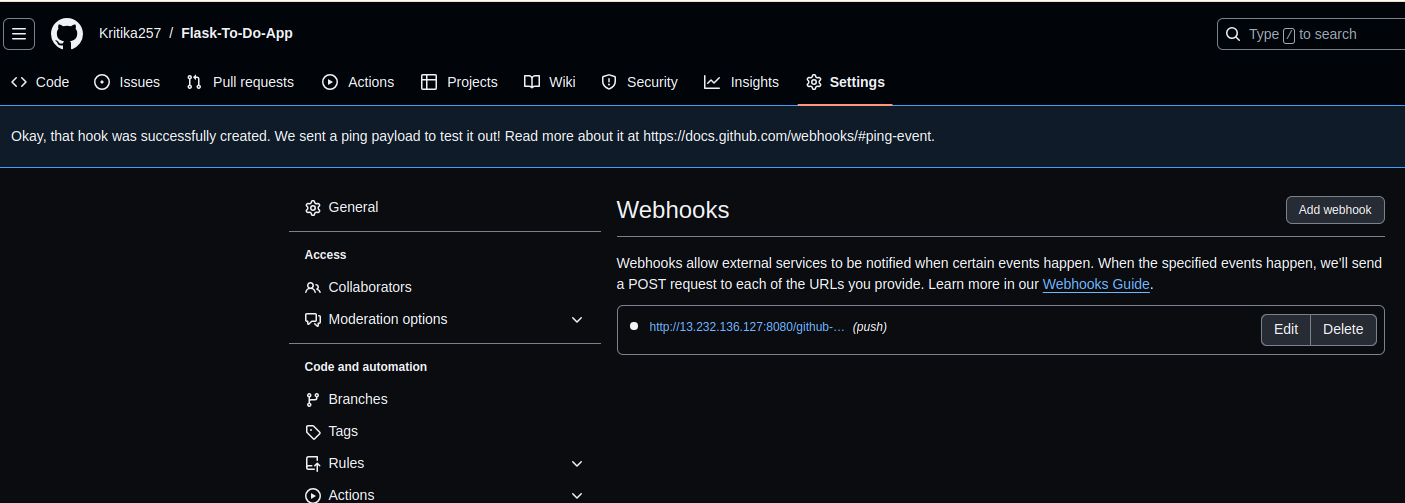
Set up GitHub webhook:
In your GitHub repository, go to Settings > Webhooks > Add webhook.
Enter Jenkins environment URL with "/github-webhook/" at the end.
Select 'application/json' as the content type.
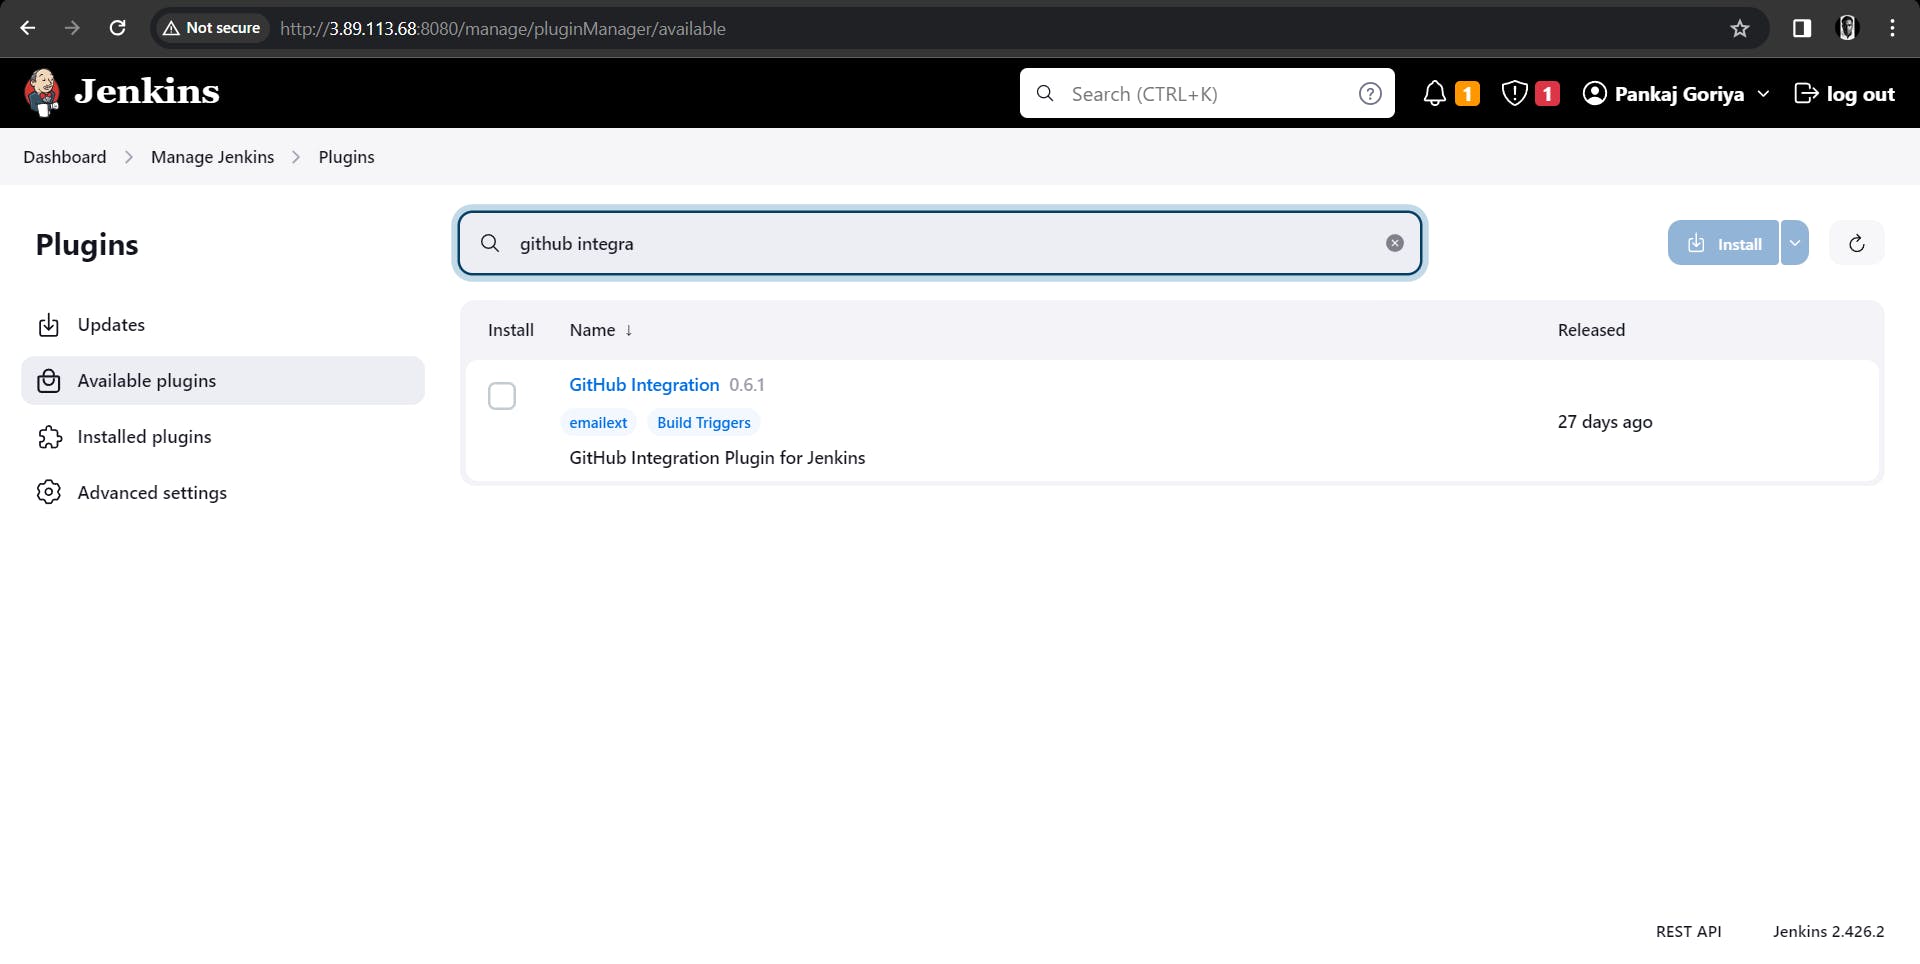
Step 9: Install GitHub Integration Plugin in Jenkins
Open Jenkins dashboard.
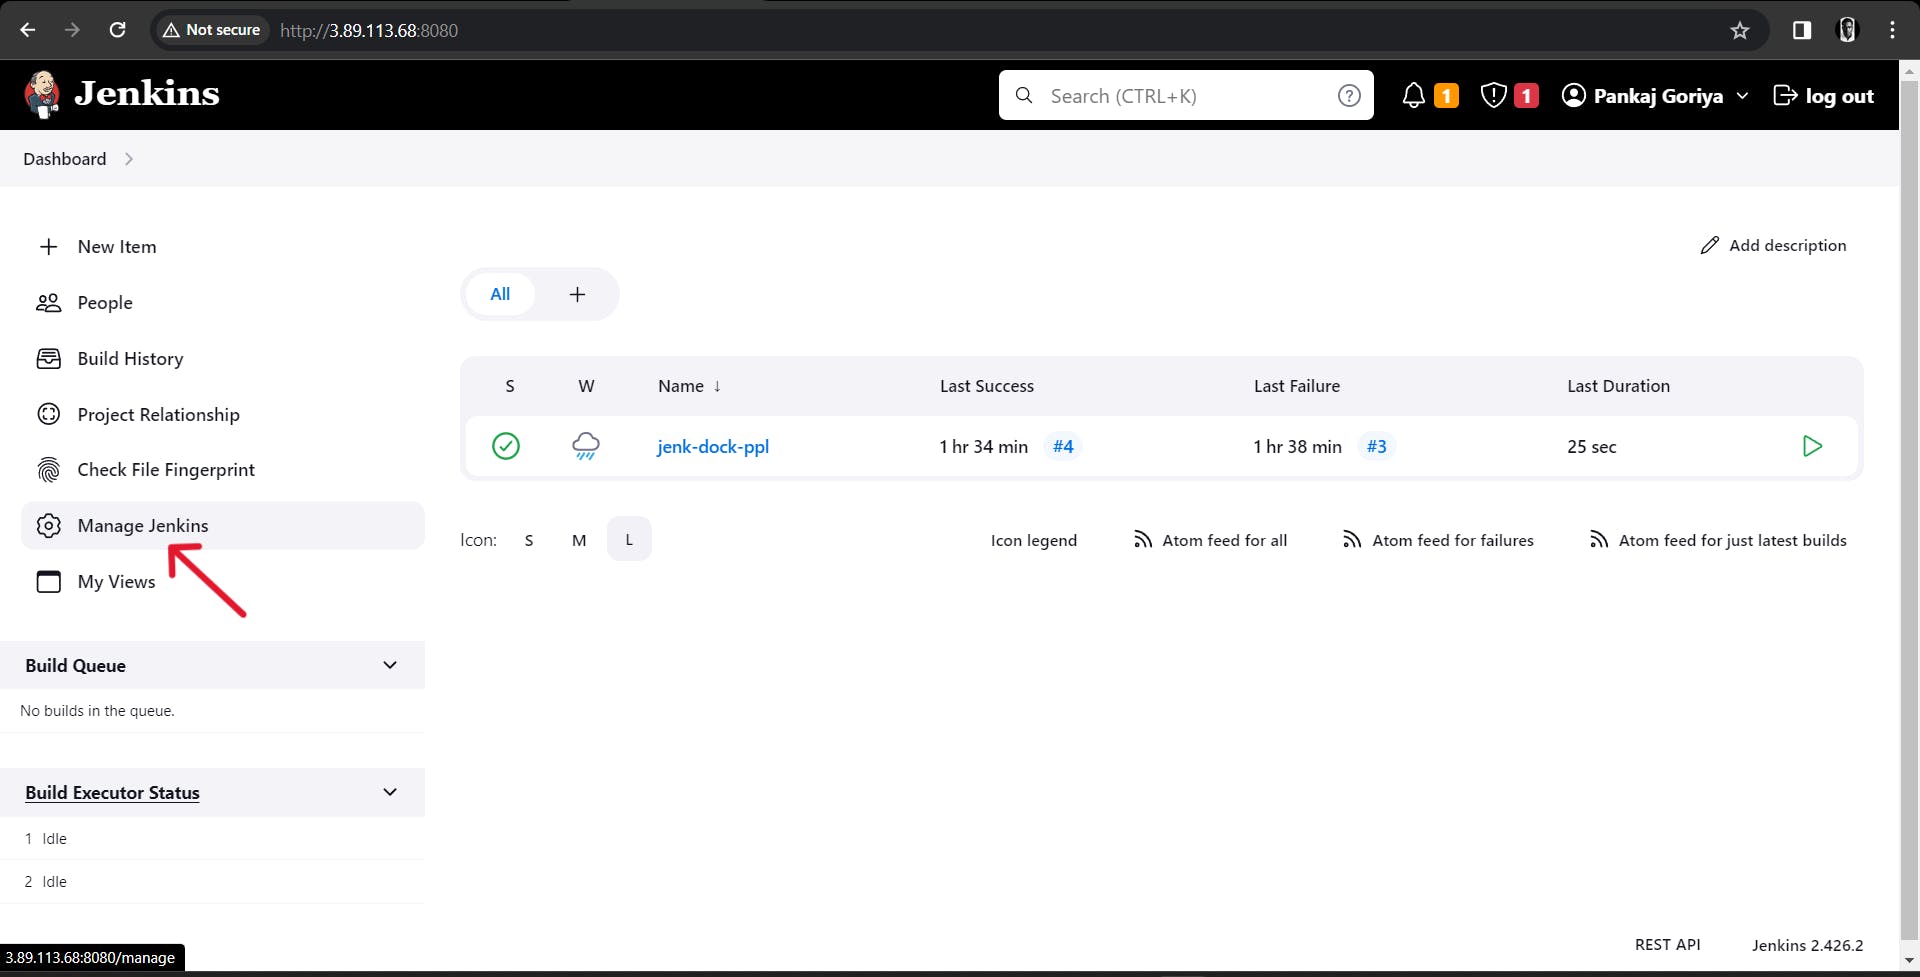
Go to Manage Jenkins > Manage Plugins.
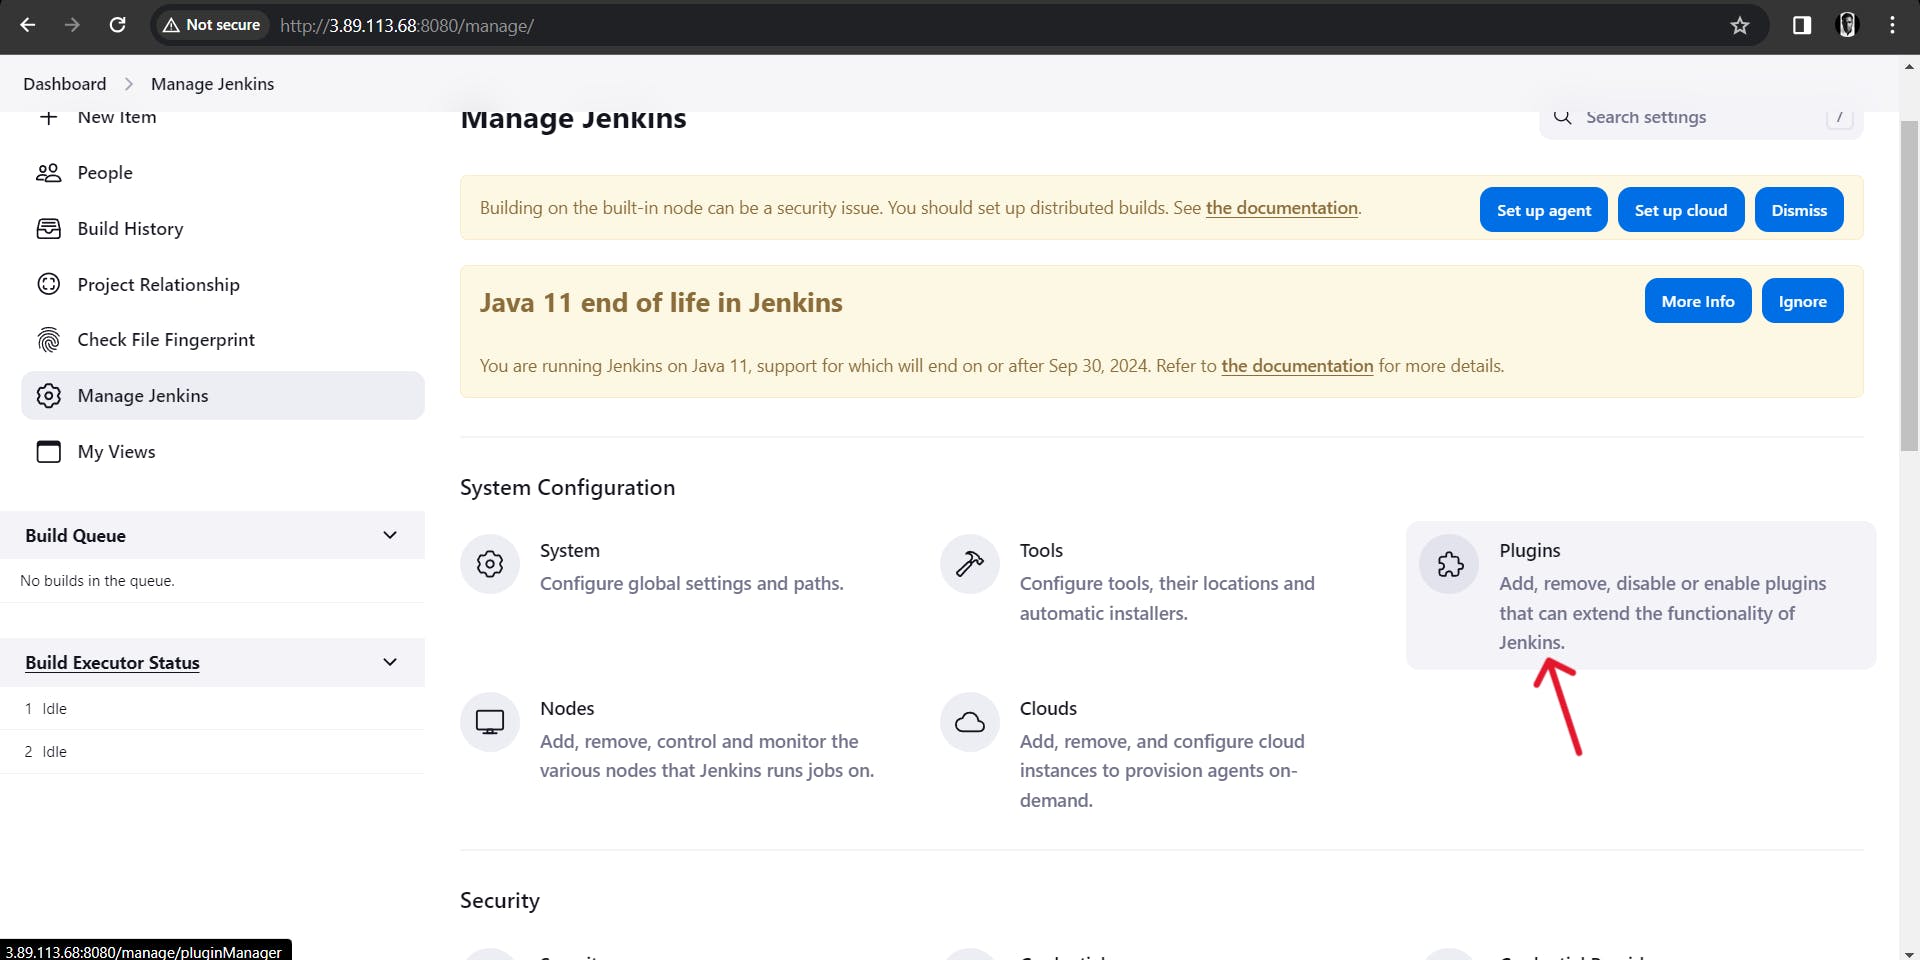
Install the GitHub Integration plugin.
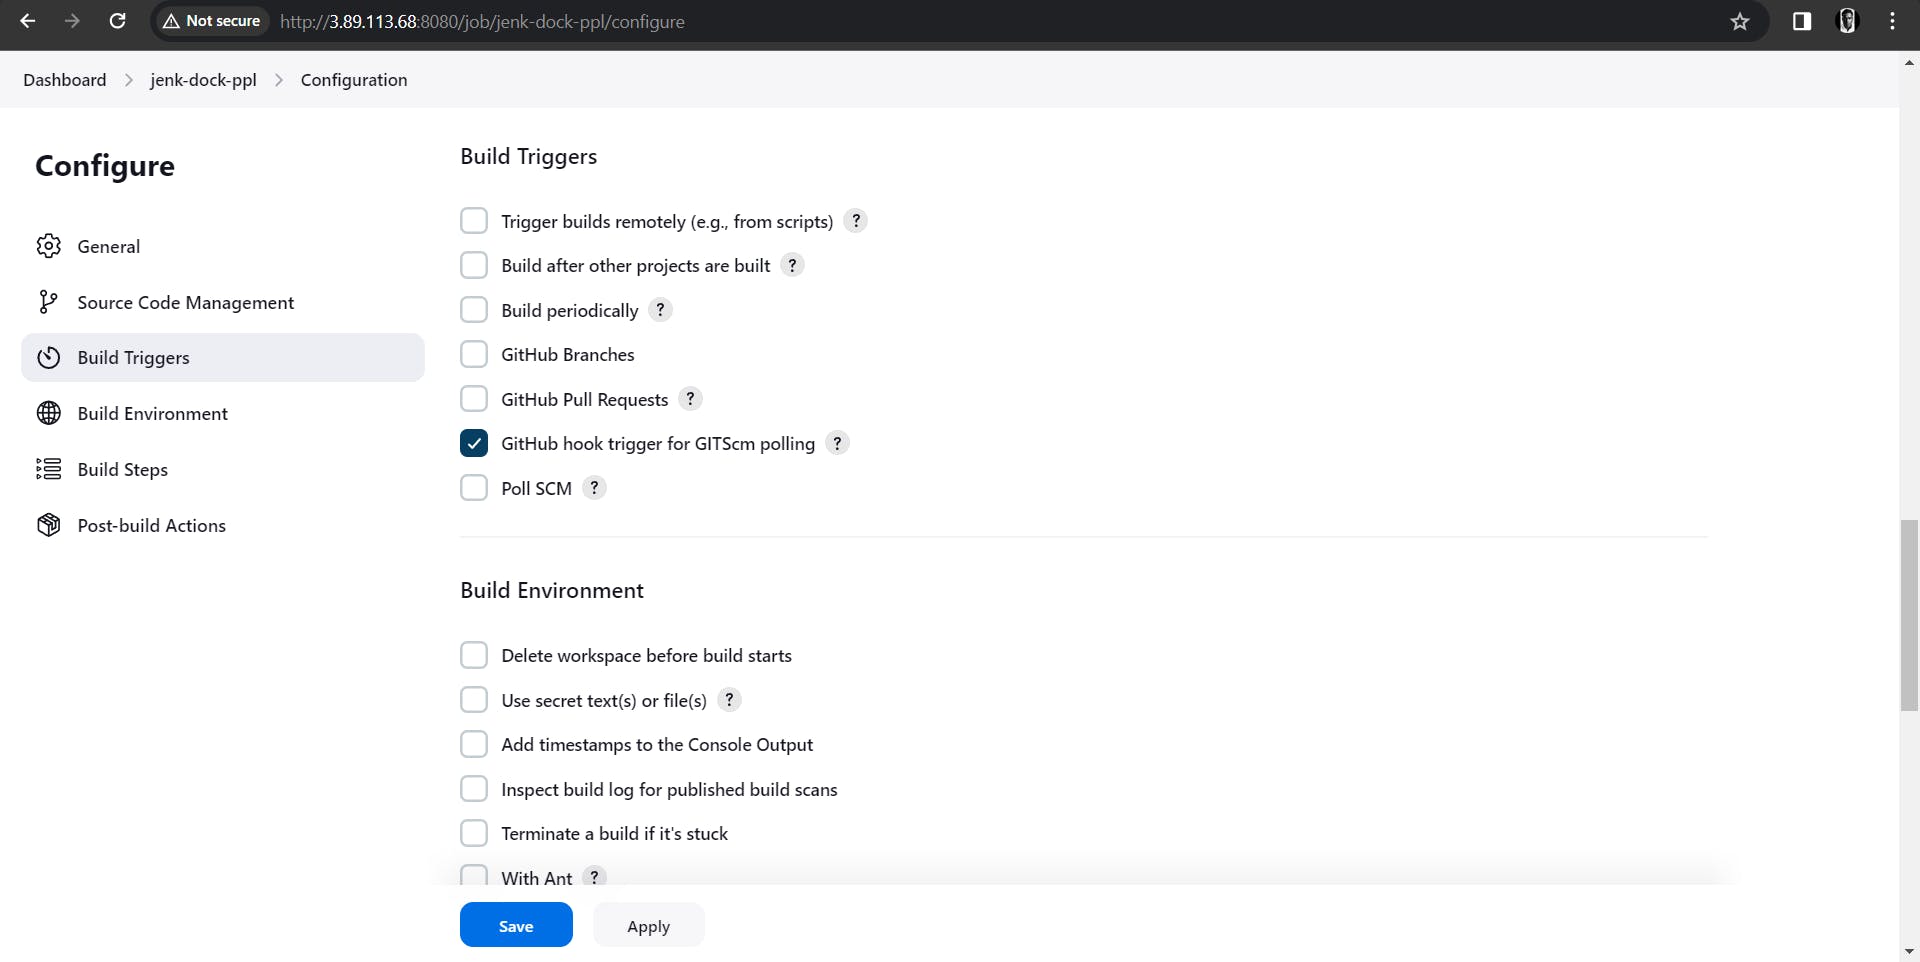
Step 10: Configure Jenkins for GitHub Integration
In build triggers, select 'GitHub hook trigger for GITScm polling.'
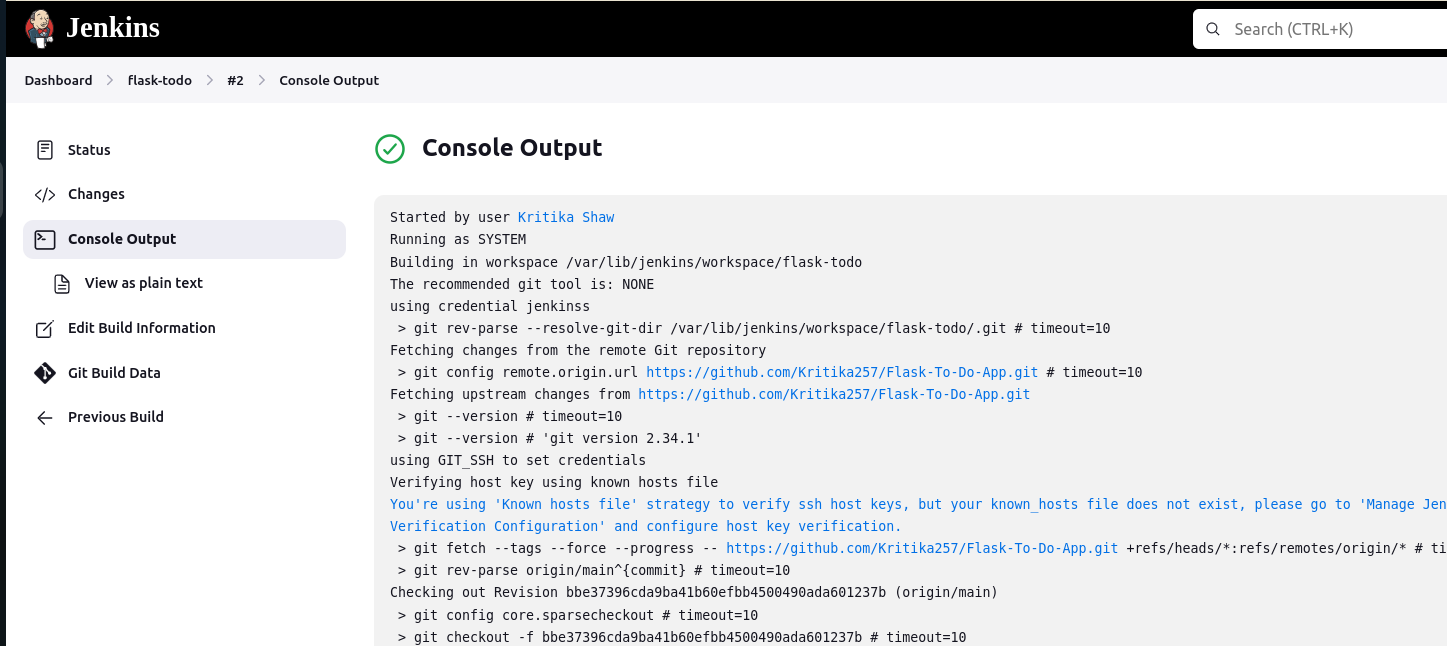
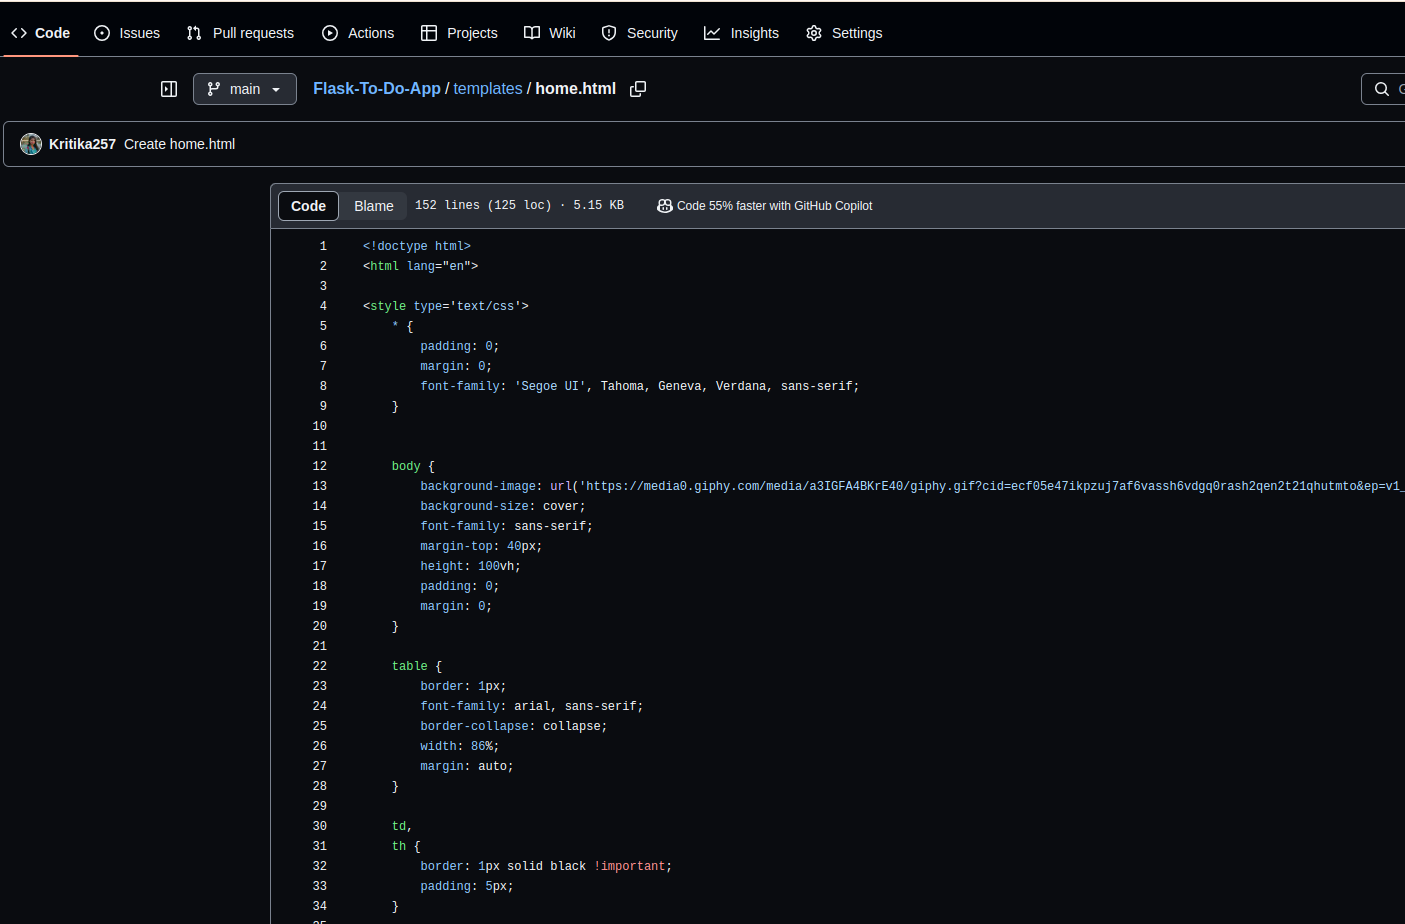
Make changes to the code to trigger the pipeline.
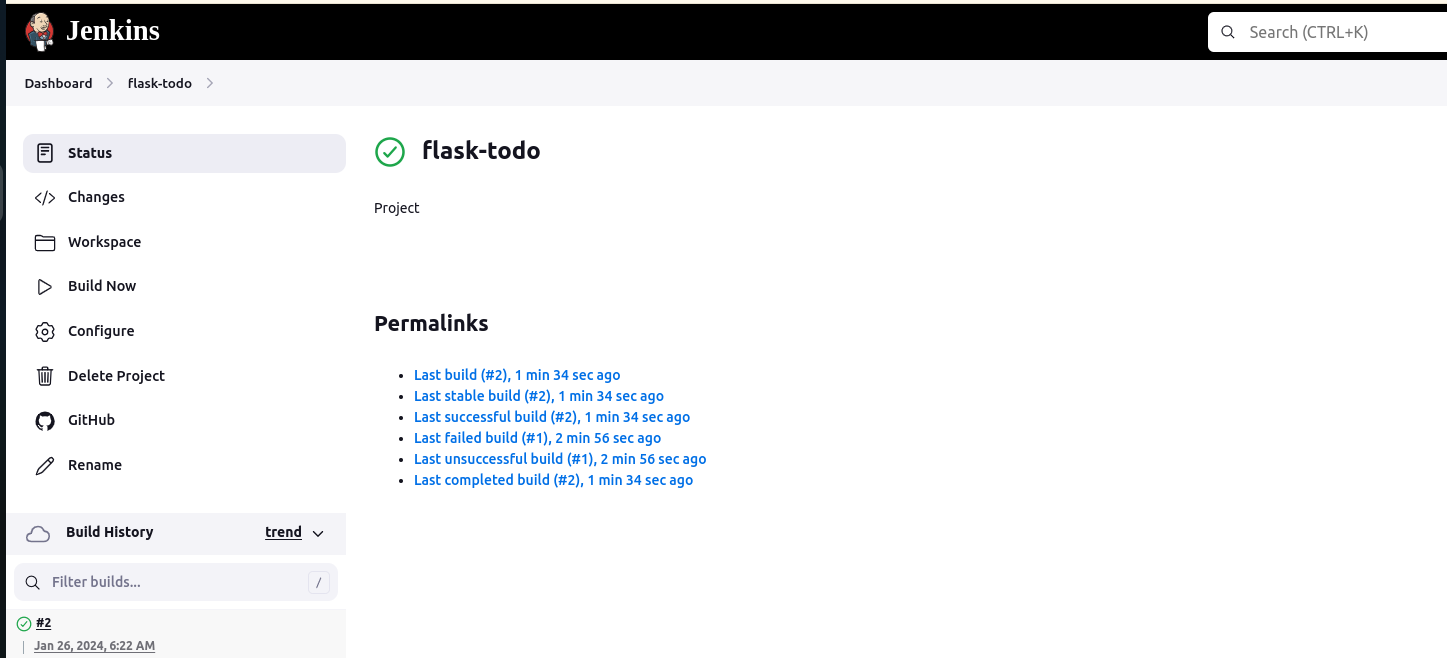
The built has been automatically triggered
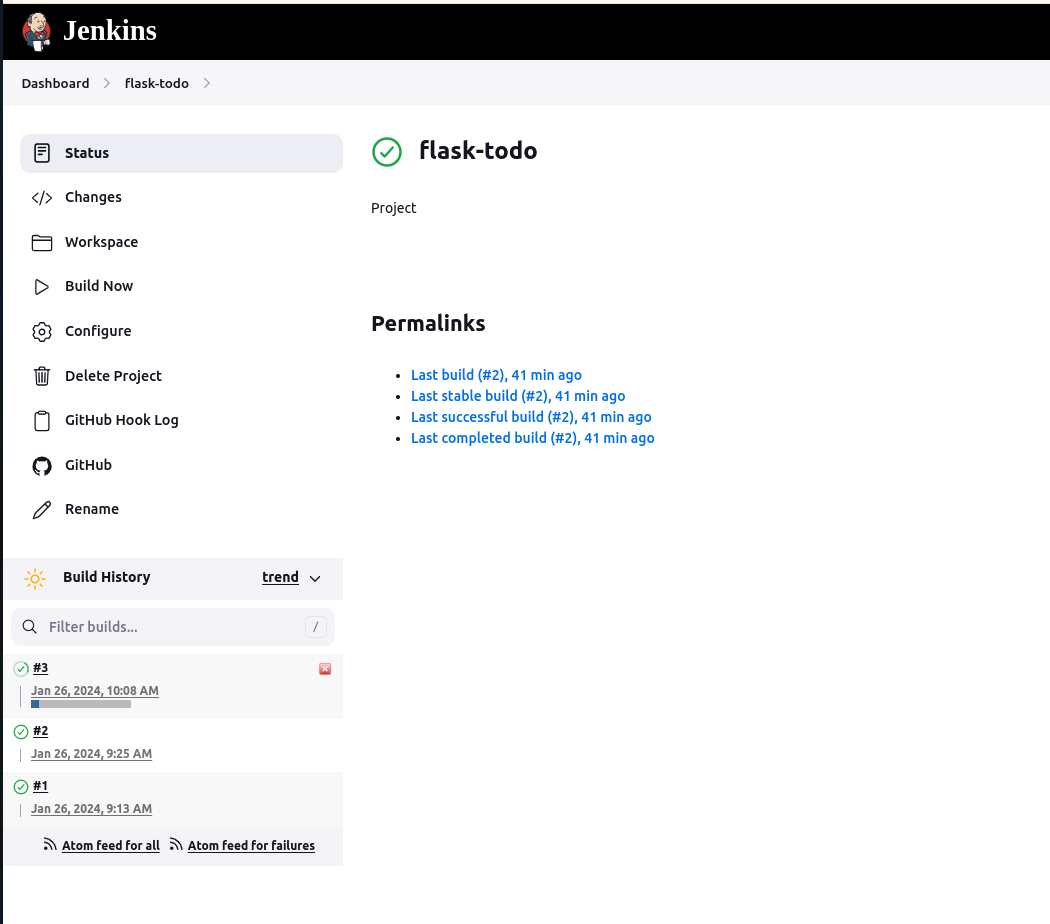
But it wasn't successful as there is error generated because of the new container name being the same.
Let's modify the settings of the configuration.
Step 11: Access Jenkins Pipeline
Browse the public IP address with port number 8000 to view the Jenkins pipeline
Thank you so much for taking the time to read till the end! Hope you found this blog informative and helpful.
Feel free to explore more of my content, and don't hesitate to reach out if need any assistance from me or in case of you have any questions.
Happy Learning!
~kritika :)
Connect with me: LinkedIn


